Registration Module
Step F: Create a Registration Form
Purpose:
Collect participant details, manage attendance, and optionally enable payment.
Step-by-Step Guide
1. Navigate to Registration Module
Go to your event → Management Area → Registration [1]

2. Click "Create a New Registration Form [2]"
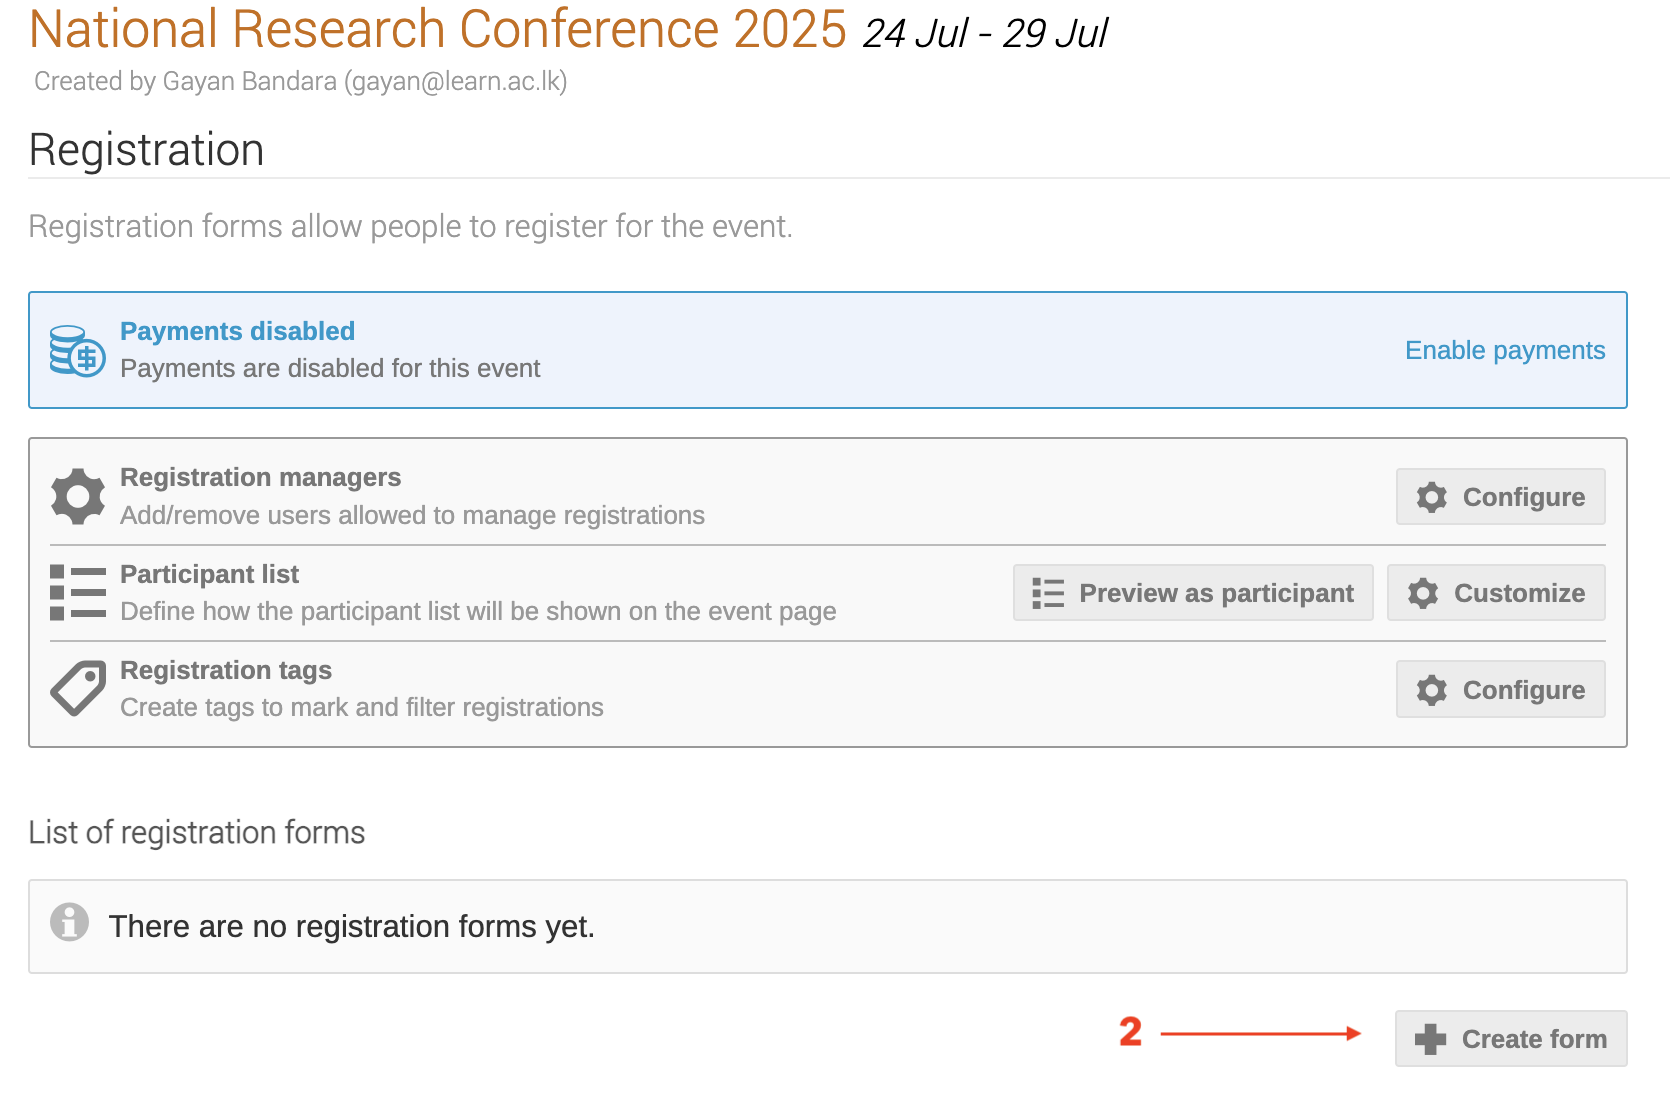
You'll see the screen just like your screenshot.
Initial Settings:
| Field | Description | Example |
|---|---|---|
| Title [3] | Name of the form | NRC 2025 Participant Registration |
| Visibility to participants [4] | Who can see the participant list | Recommended: Hide all participants |
| Visibility to everyone [5] | Whether non-participants can see the list | Recommended: Hide all participants |
| Visibility duration [6] | How long the list is visible | Leave as default (Permanent or adjust later) |
| Retention period [7] | How long data is stored | Optional (set to 4–12 weeks or indefinite) |
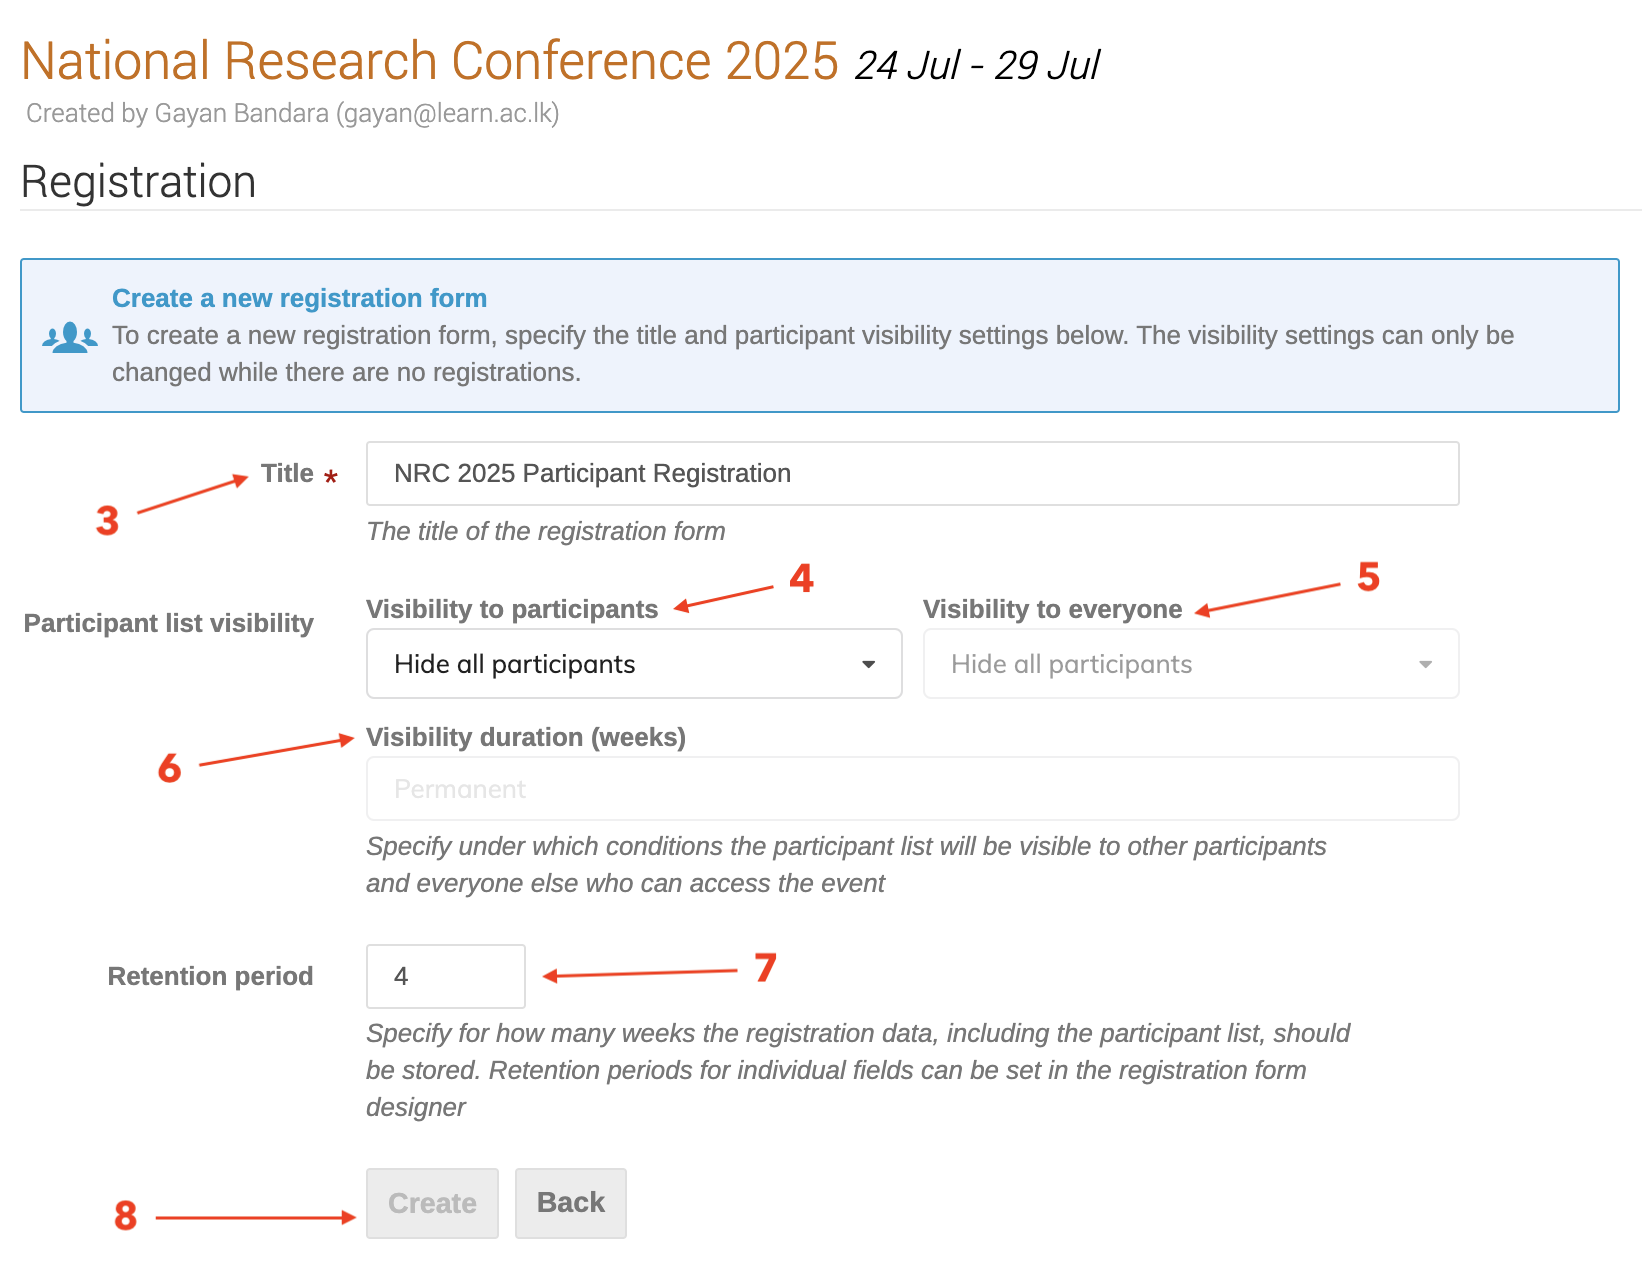
Click Create [8] to continue.
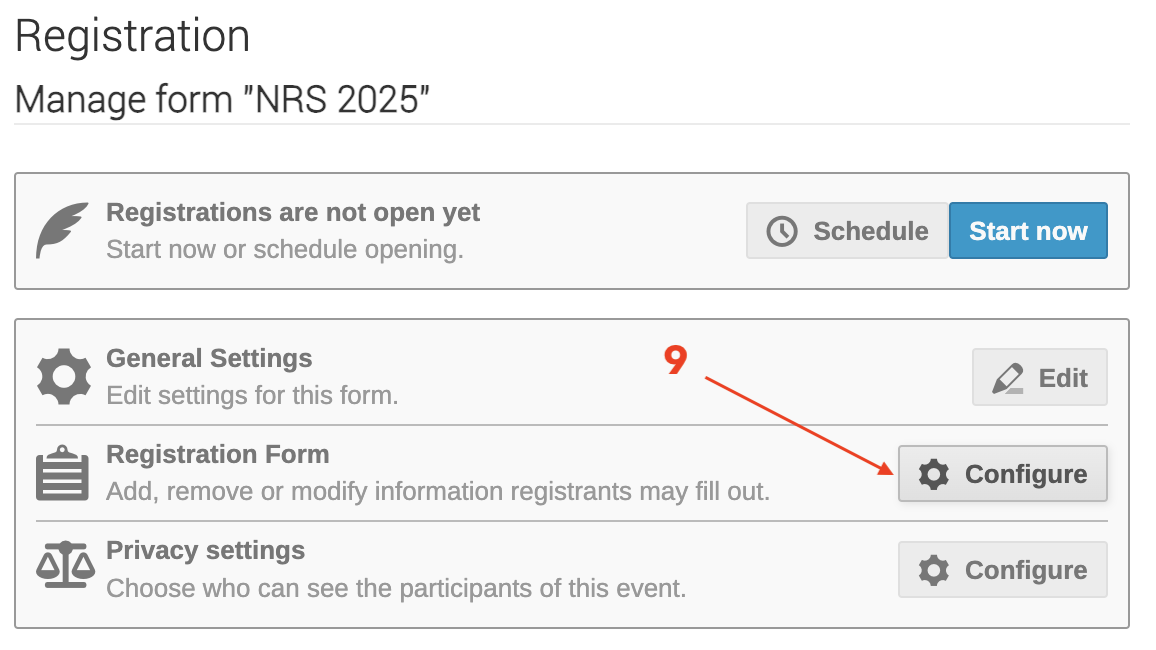
3. Design the Form
Once the form is created, Then select Registration Form Configure [9] settings.
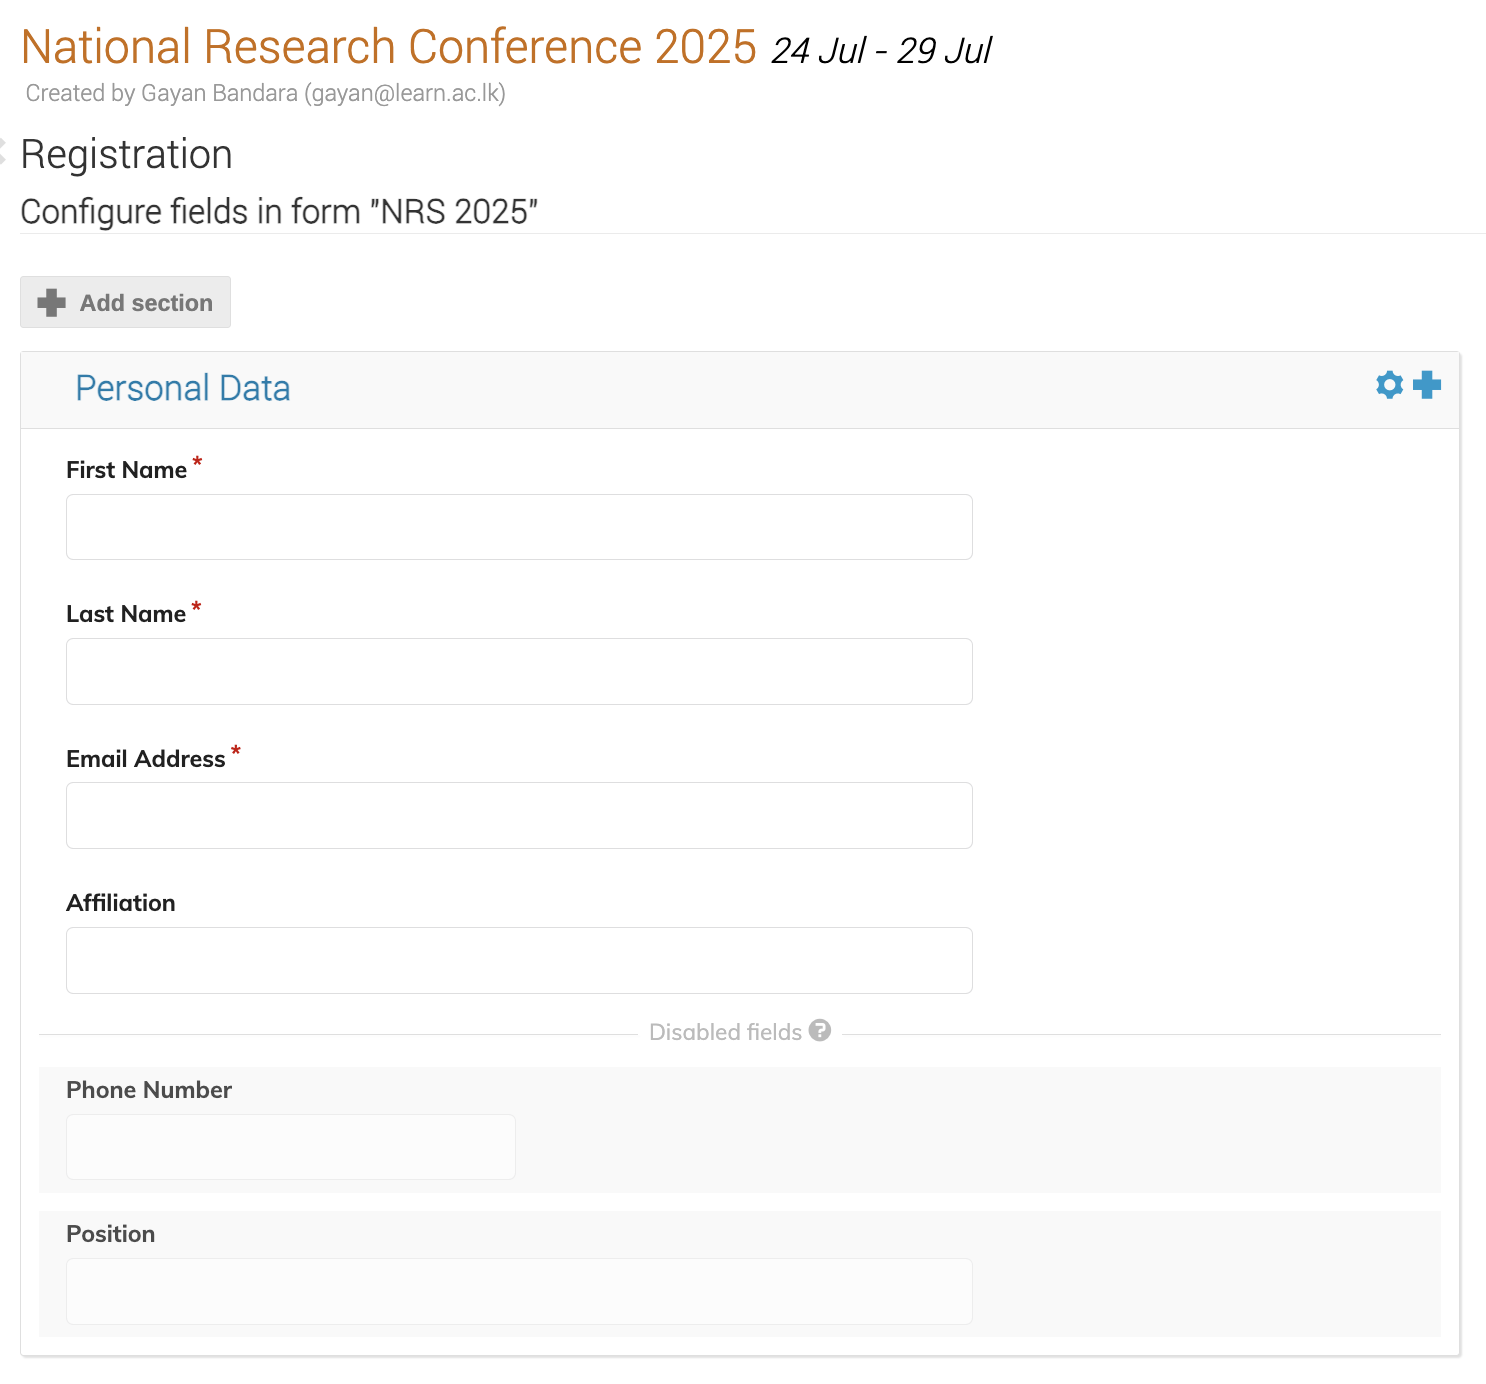
➕ Add Form Fields:
- Name (required)
- Affiliation / University
- Presenter? (Yes/No radio button)
- Mobile Number
- Dietary/Accessibility Requirements
- Upload Student/Staff ID (if needed)
4. Set Form Settings
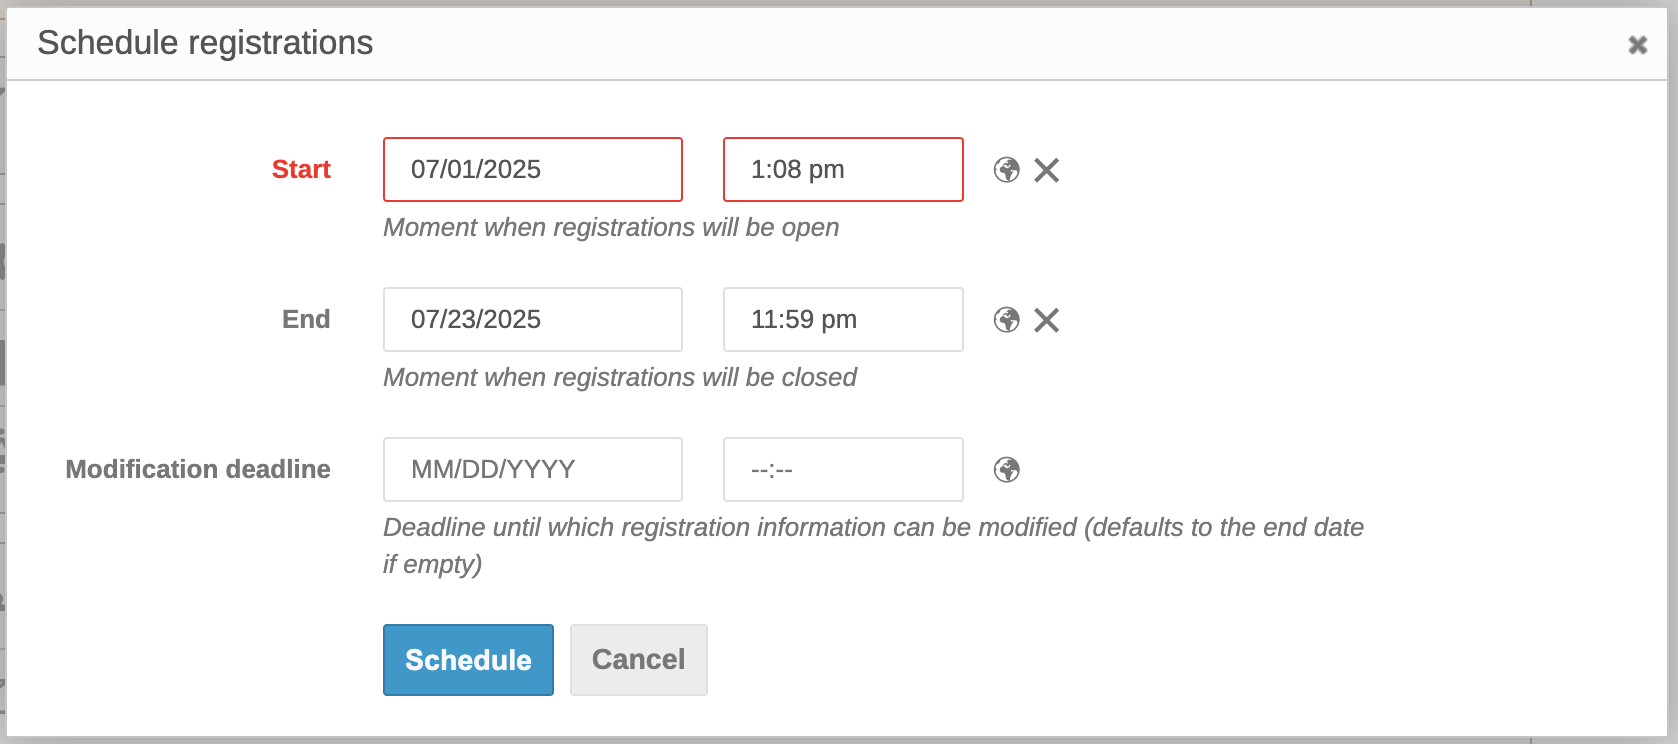
Click the Start now or schedule opening in the registration form:
| Option | Example Configuration |
|---|---|
| Registration opens | Jul 1, 2025 |
| Registration closes | Jul 23, 2025 |
5. Enable and Share
After designing and configuring:
- Click Enable Registration
- Share the registration link with your participants
Link will be like:
example https://wsindico.learn.ac.lk/event/1/registration/1/