Customize Moodle Themes
01 -Basic Customization (Theme Selector and Settings):
- Go to Administration > Appearance > Themes Setting / advanced Themes Settings.
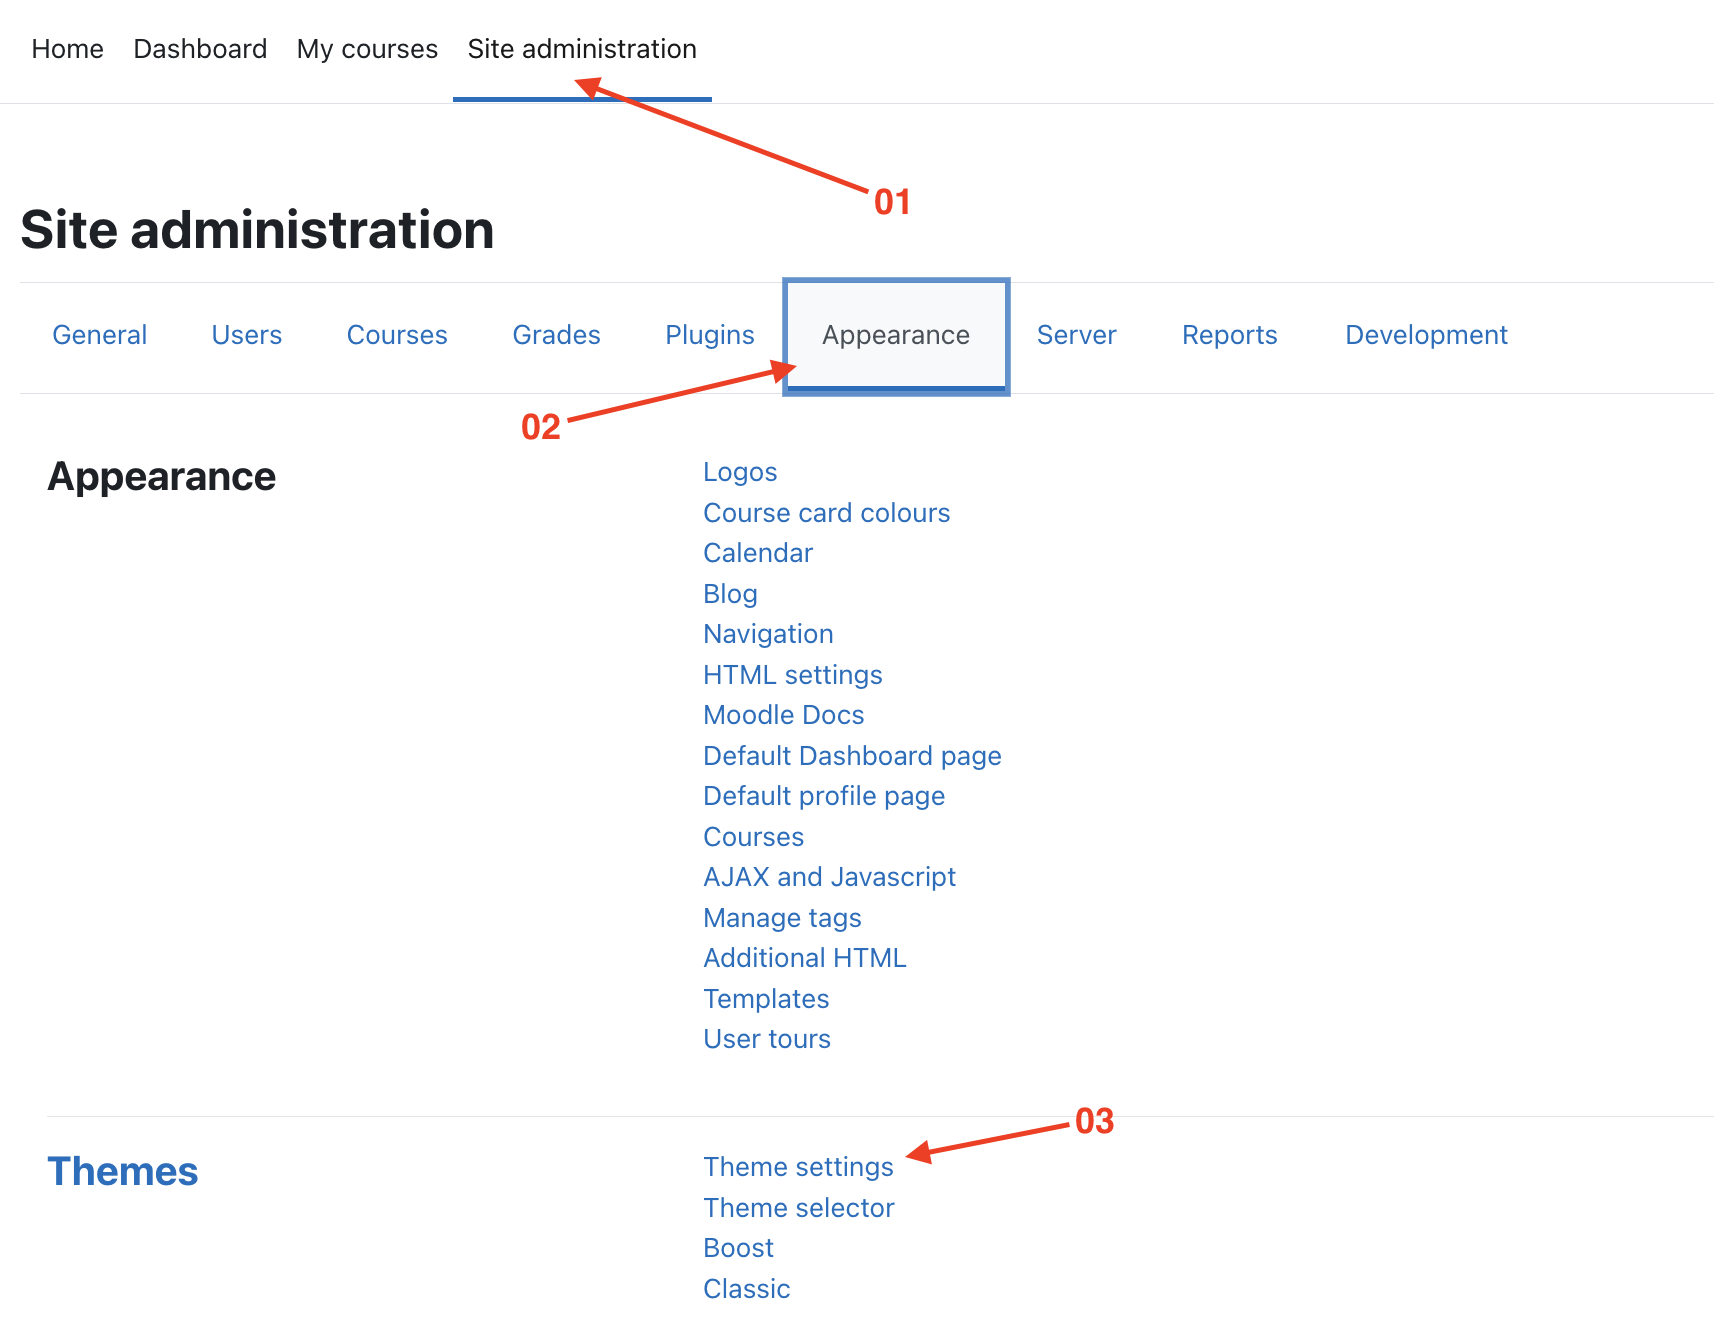 - Select your current theme.
- Click on the Themes Settings .
- Here, you can adjust various options like Designer mode, User themes, .
- Select your current theme.
- Click on the Themes Settings .
- Here, you can adjust various options like Designer mode, User themes, .
 - Save your changes to see the updated theme.
02 - Add Custom Menu
Scenario:
Assume you need to add a custom menu for BSc - IT courses.
- BSc - IT is the main menu.
- Semester 01 and Semester 02 are submenus.
Steps to Add a Custom Menu in Moodle:
- Log in to Moodle:
-
Access Moodle with administrative privileges using your credentials.
-
Access Site Administration:
-
Navigate to "Site administration" in the top-right corner of the page.
-
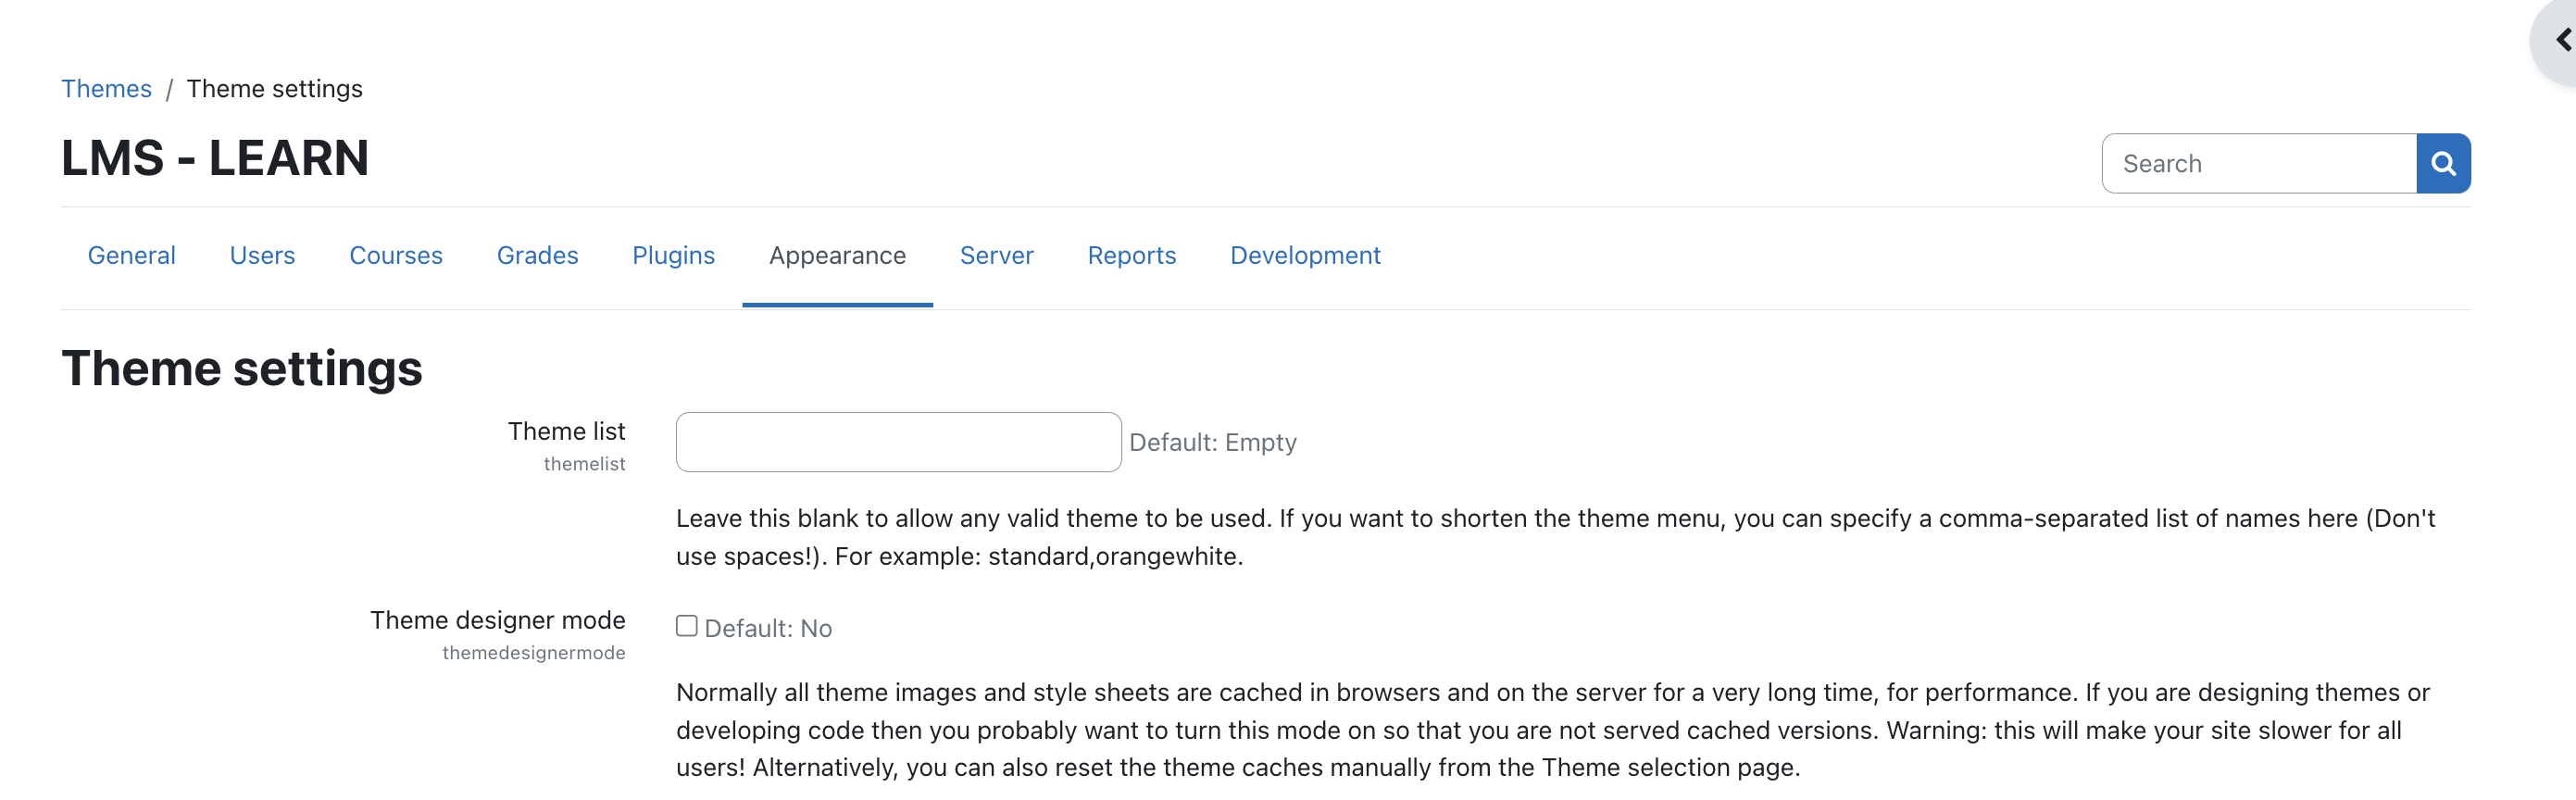
Navigate to Appearance Settings:
- Under "Site administration," click on the "Appearance" tab.
-
Select "Theme settings" or "Theme" (depending on your Moodle version).
-
Configure Custom Menu Items:
-
In the "Theme settings" section, locate the "Custom menu items" box.
-
Add Main Menu and Submenus:
-
Enter the menu structure using the following format:
BSc - IT|#
 - Semester 01|#
 - Semester 02|#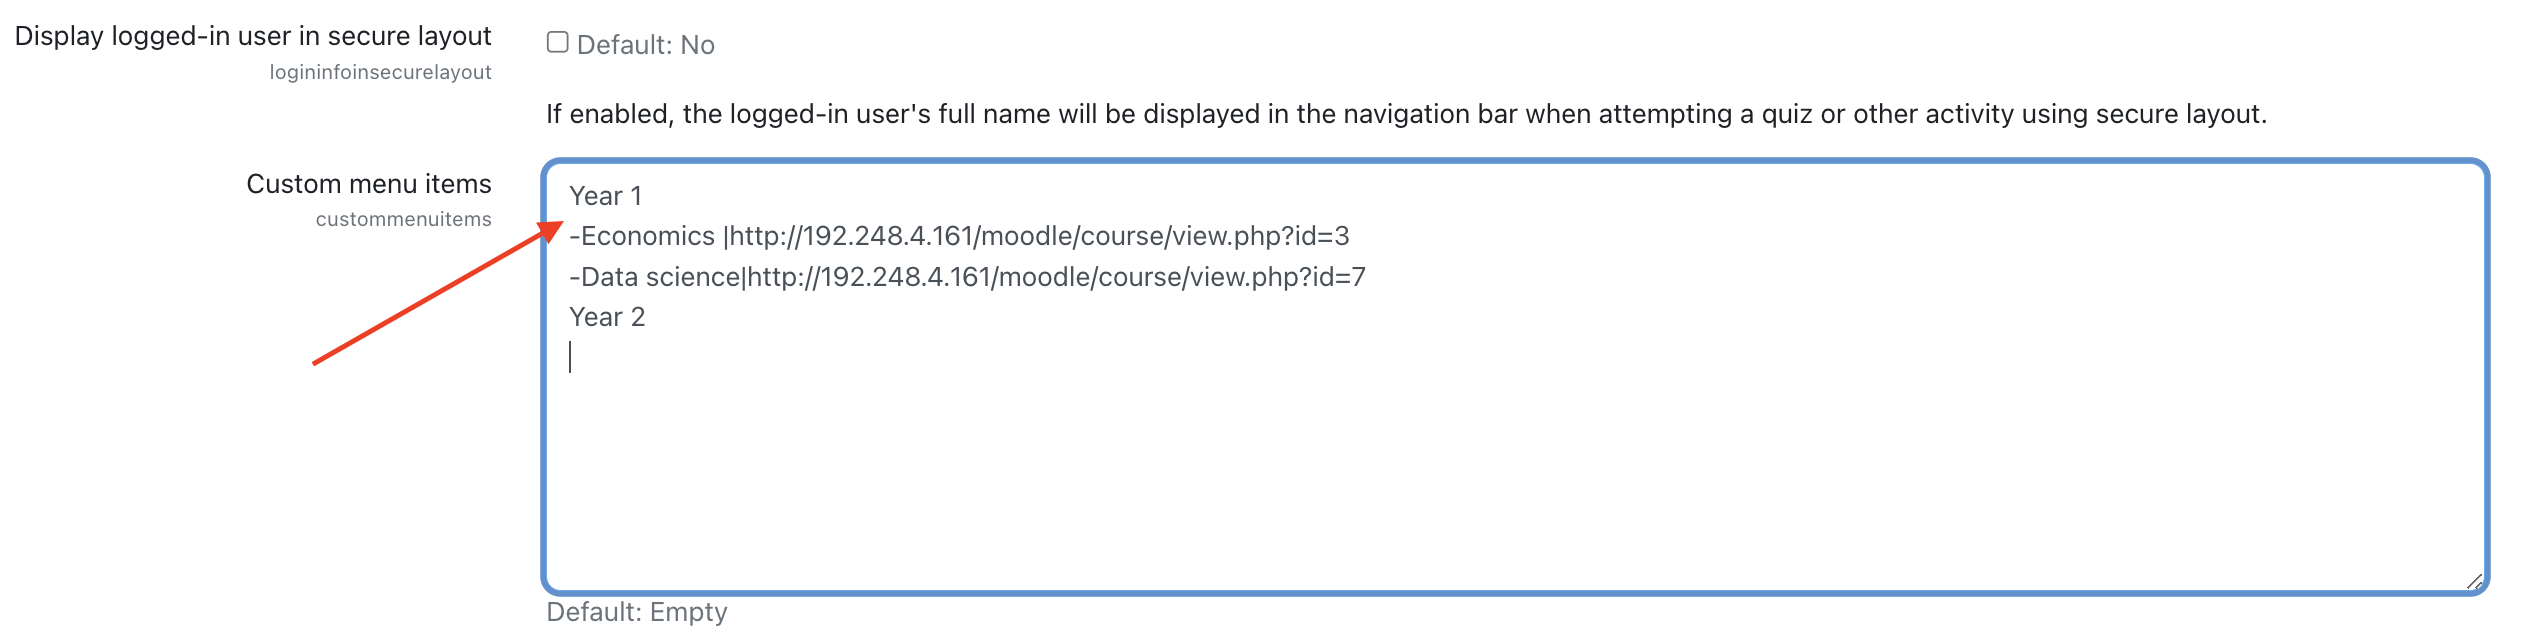
-
Save Changes:
-
Scroll down to the bottom of the page and click on the "Save changes" button to apply the new custom menu.
-
Verify Custom Menu:
- Go to the main page of your Moodle site to check the newly added custom menu.
- Hover over "BSc - IT" to see the submenus:
- Semester 01
- Semester 02
-
Confirm that the subject links redirect correctly.
-
Save the changes:Click Save changes at the bottom of the page.

03 - Customising the Header
Scenario:
Assume you need to add a contact email using the customization options available in the Moodle header.
Steps to Add a Contact Email by Customizing the Header:
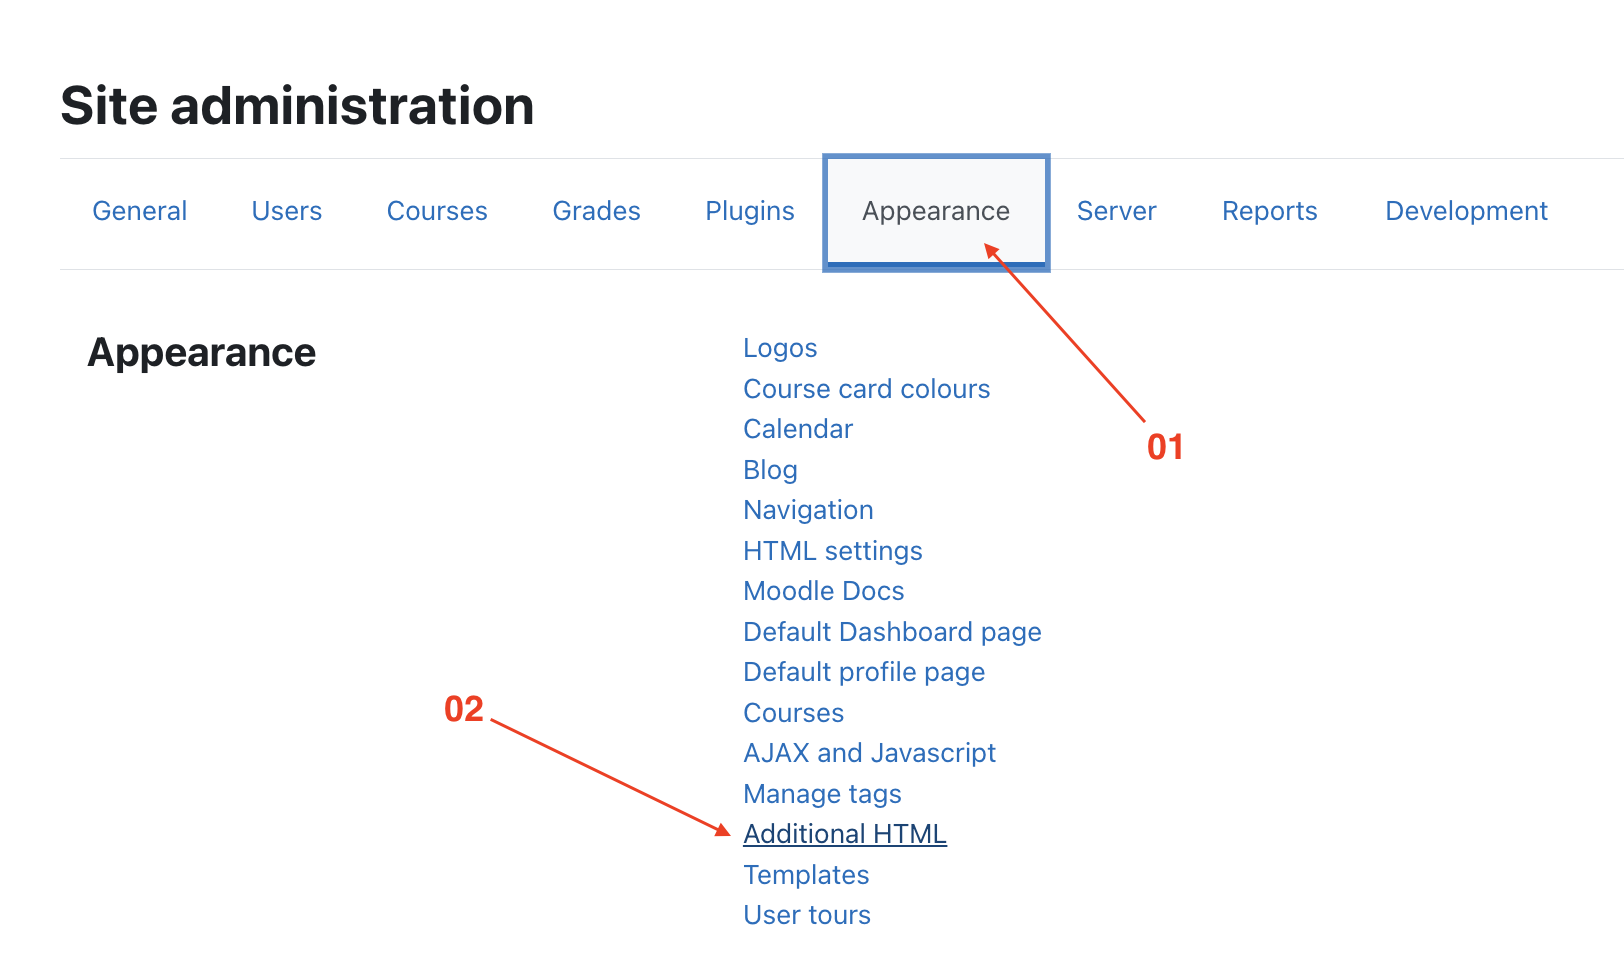
- Navigate to Appearance Settings:
- Under "Site administration," click on the "Appearance" tab.
-
Select "Theme settings" or "Theme" (depending on your Moodle version).
-
Customize Header:
-
In the "Theme settings" section, locate the "Additional HTML" or "Custom header content" section.
-
In the "Within HEAD" box, you can define HTML, CSS, or JavaScript to include on every page without modifying Moodle code files.
-
Add Contact Email:
- Find the text box where you can add custom HTML for the header.
- Enter the following HTML to add a contact email:
```html
For support please contact@university.edu
```
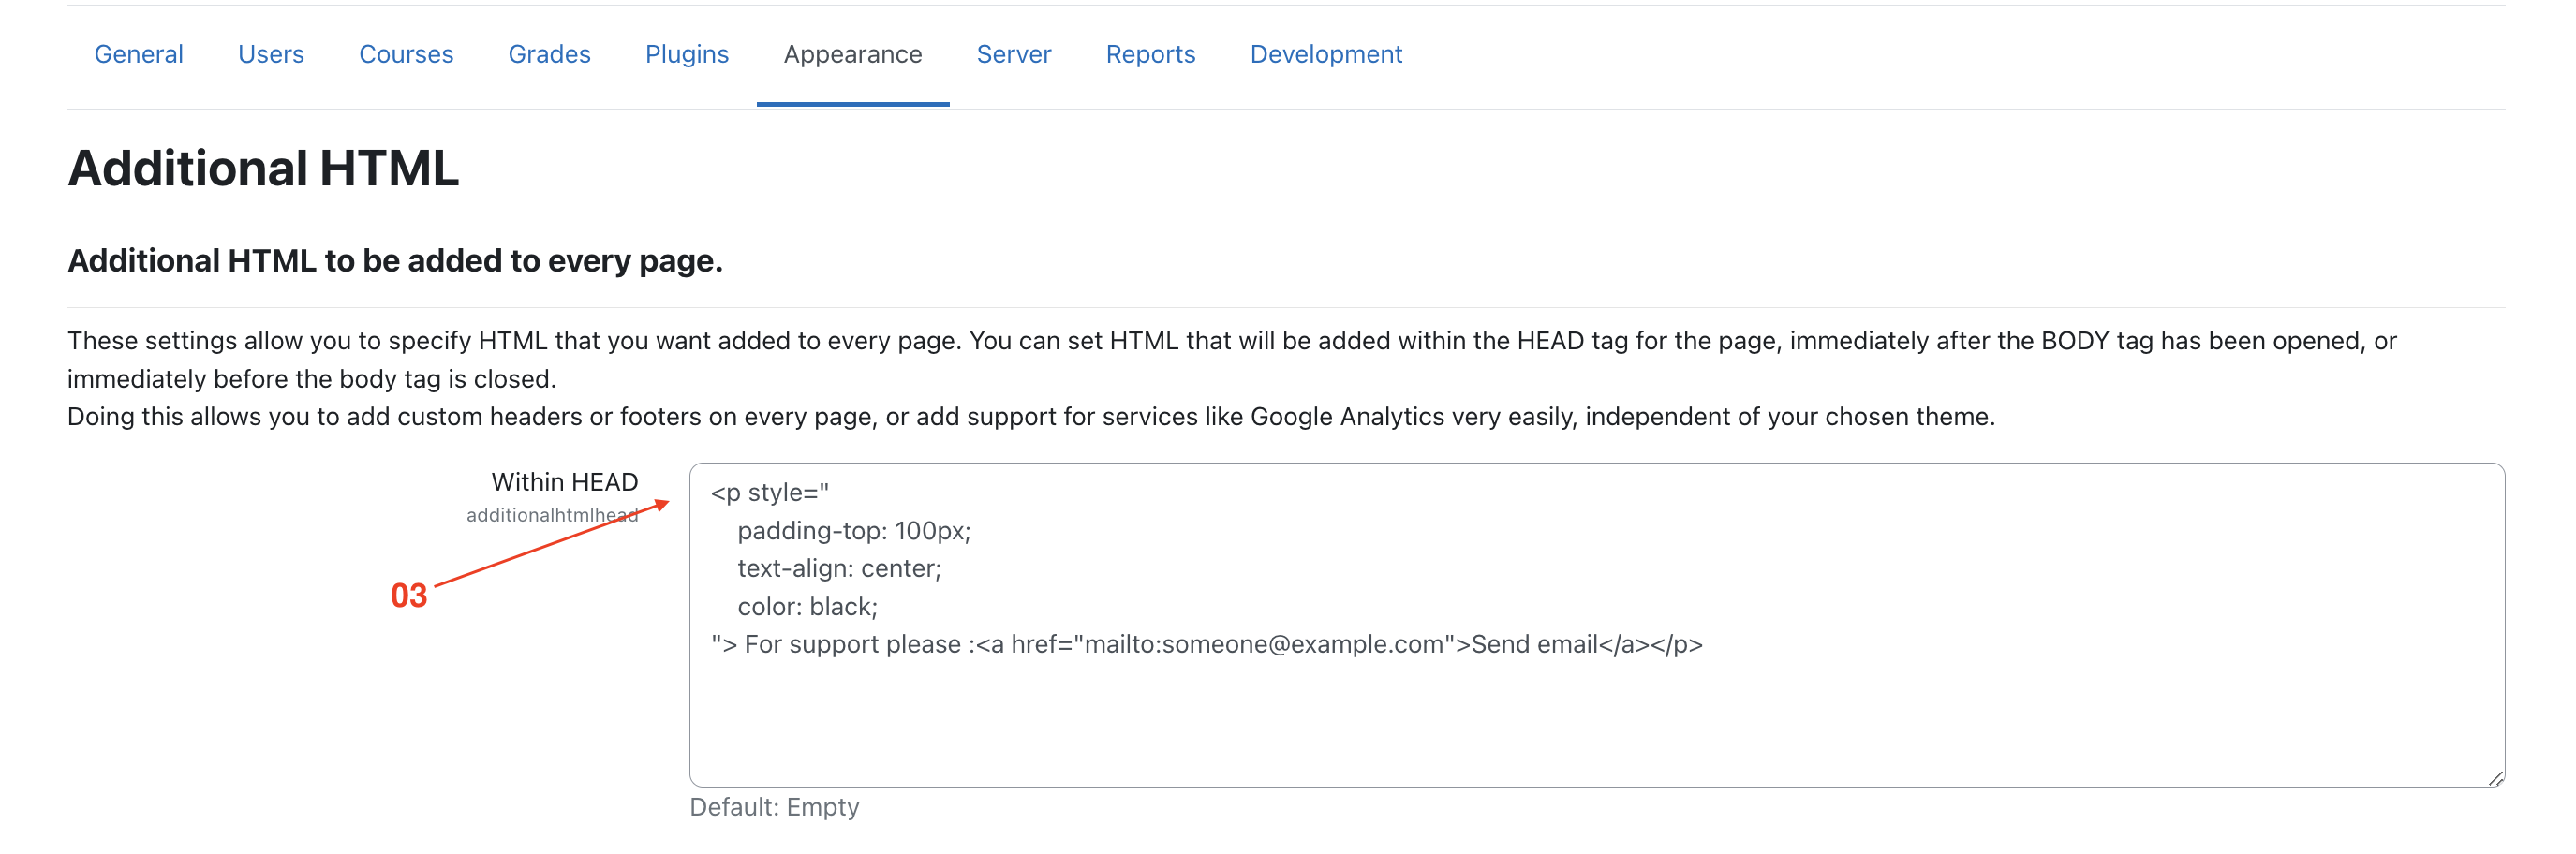
This code creates a div for potential styling and includes a mailto link for the contact email.
- Save Changes:
-
Scroll down to the bottom of the page and click on the "Save changes" button to apply the custom header content.
-
Verify Header Customization:
- Go to the main page of your Moodle site to check if the contact email appears in the header.
- Click on the email link to ensure it opens your default email client correctly.

04 - Customising the Footer
- As with header options in the section above, the administrator can add links, CSS or Java Script to the footer section of your page via Site administration > Appearance > Additional HTML
- This might be useful for adding Google Analytics, for example.
- Add your HTML/CSS to the 'Before BODY is closed' box.
05 - Change Theme
- Log in as an administrator and navigate to Administration > Site administration > Appearance > Themes > Theme Selector.
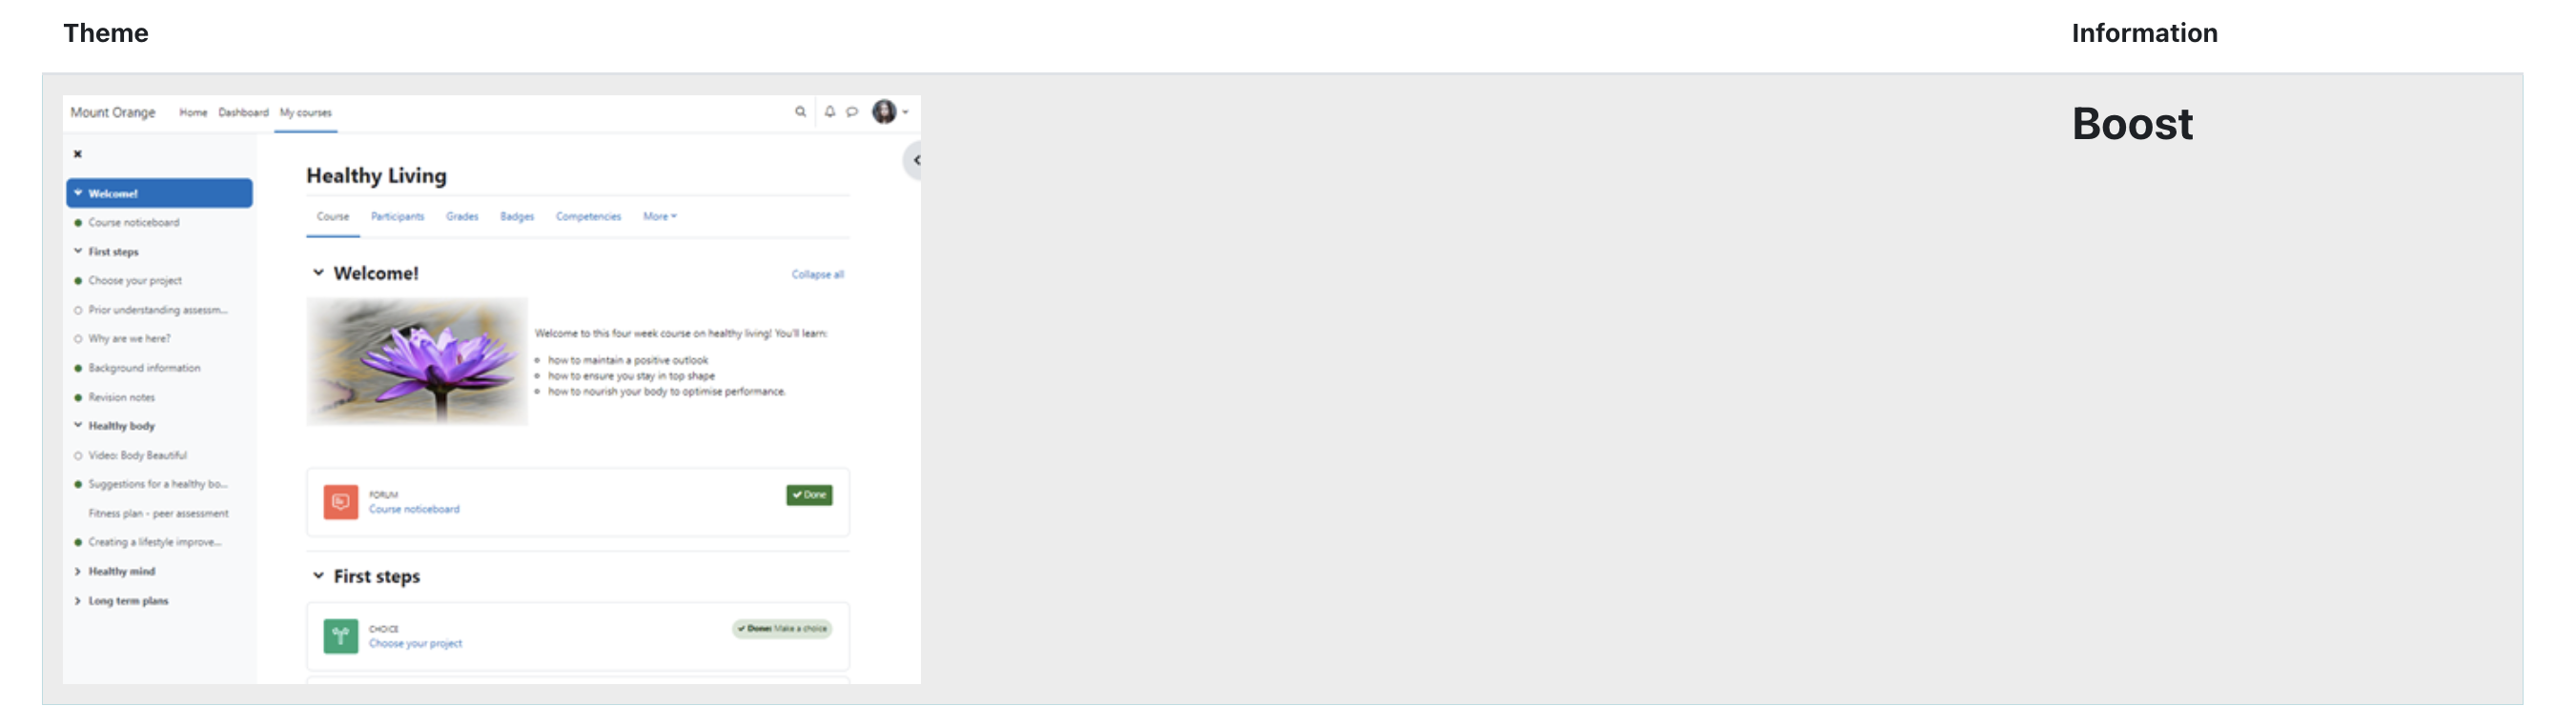
- In the "Appearance" section, you will see an option labeled "Themes". Click on it to see the available theme options.Change Theme: From the list of available themes, click on "Theme selector". You'll be presented with options to change the theme for different devices.
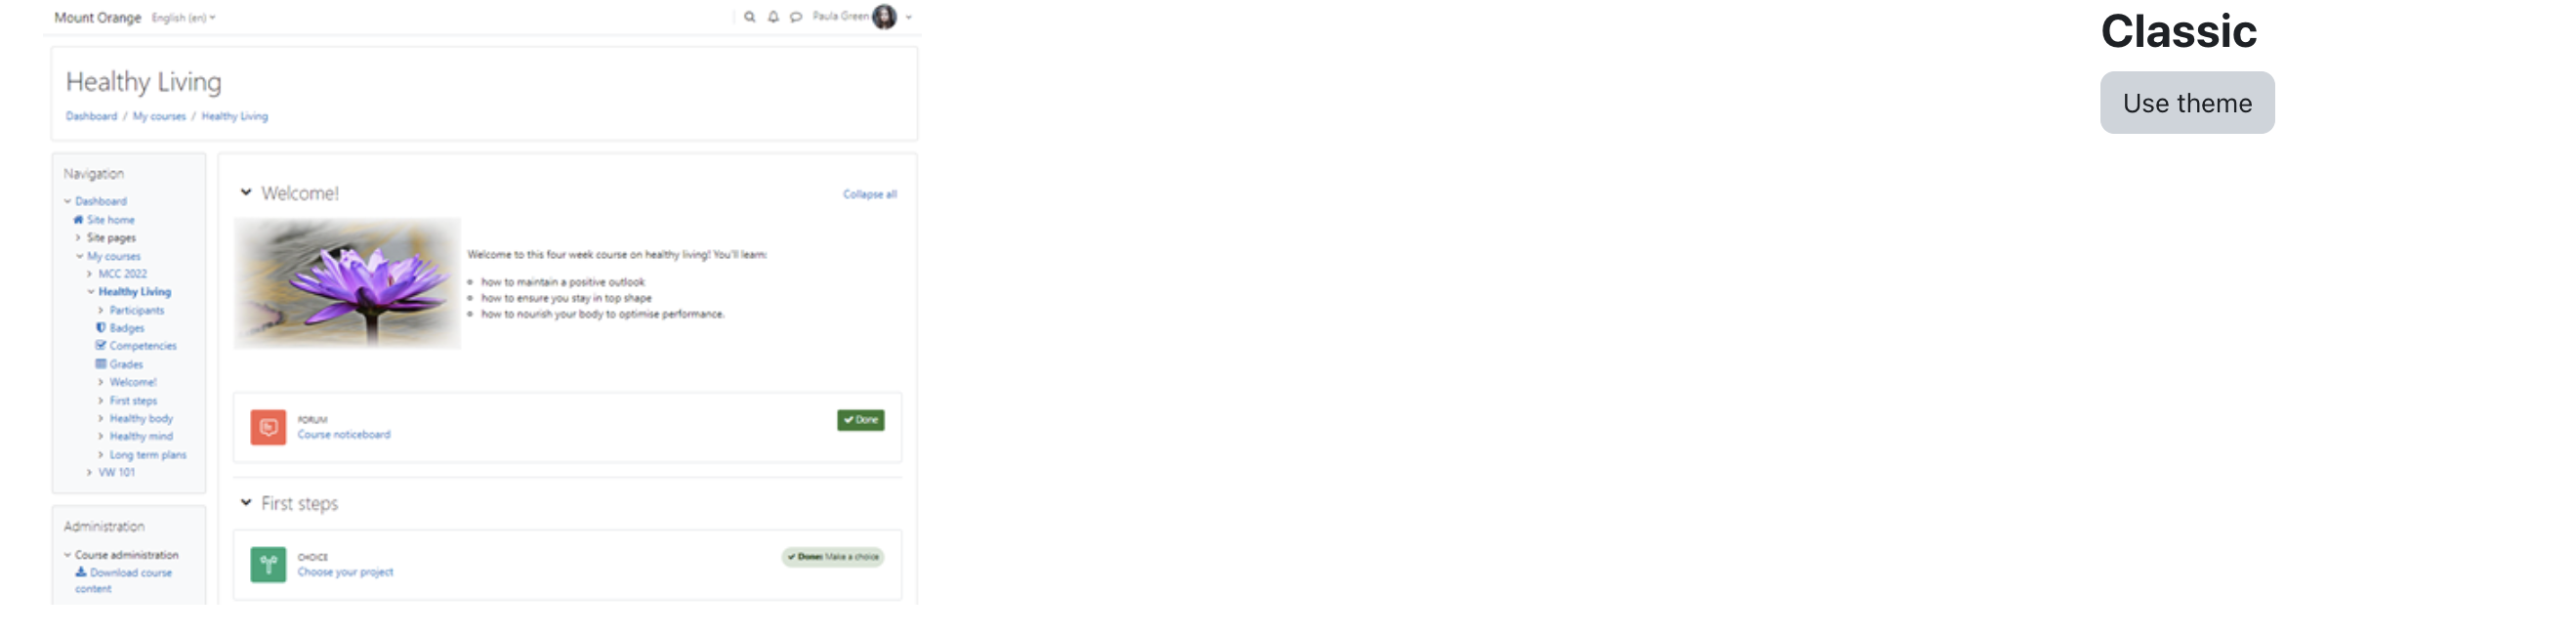
- Choose a New Theme: For the device you want to change the theme for, click on the "Change theme" button next to the current theme.
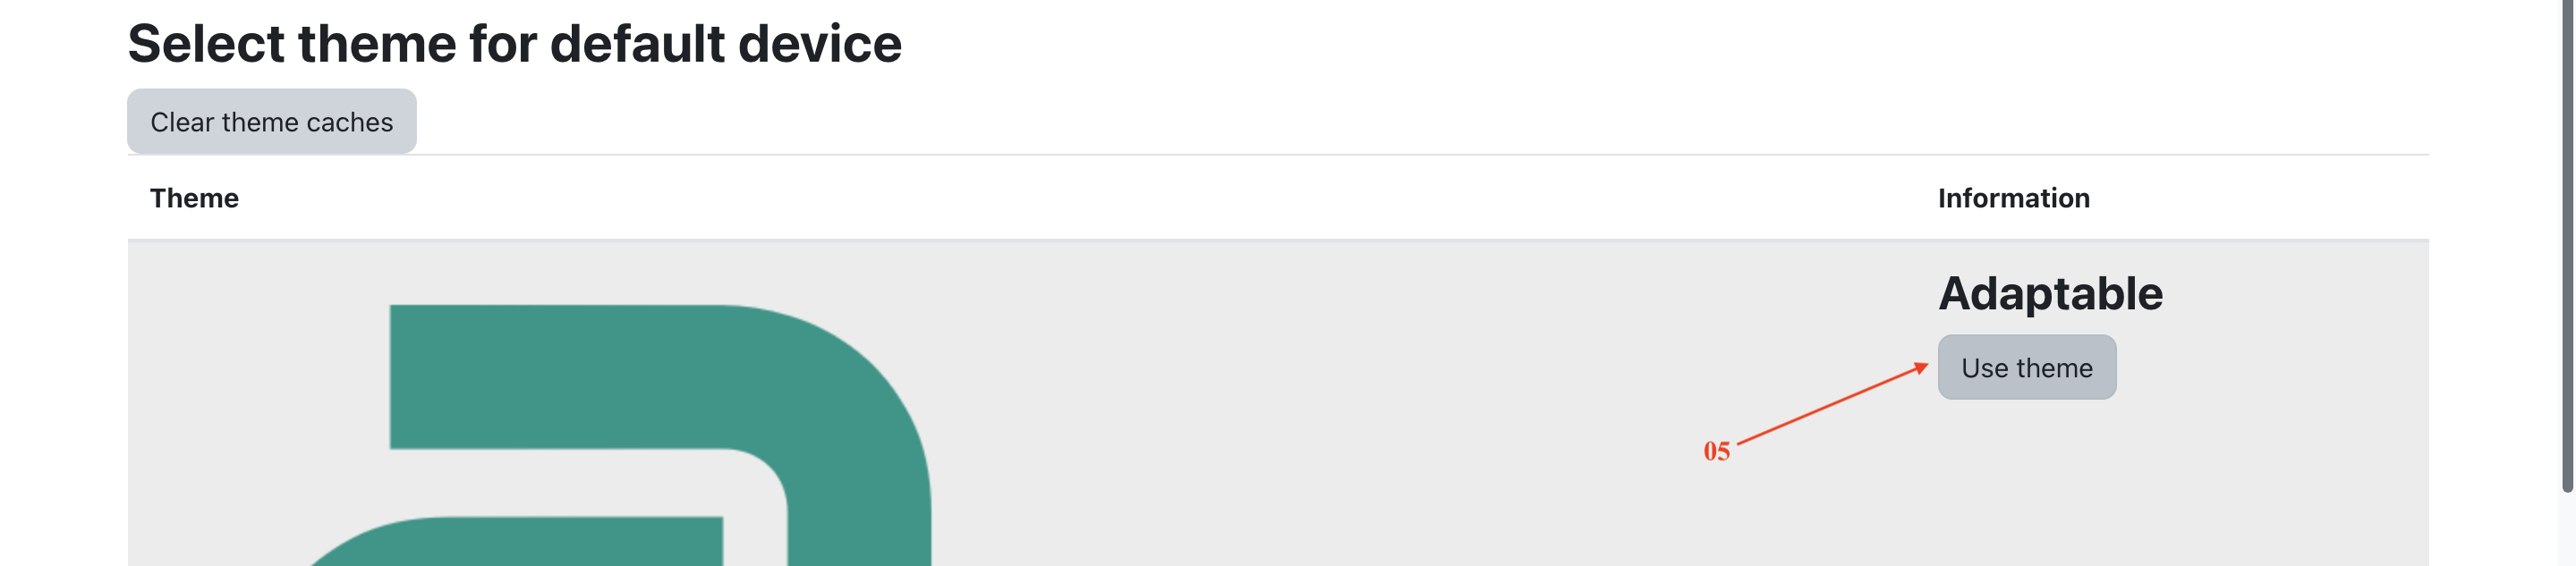
- Select a New Theme: A list of available themes will appear. Choose the theme you want to apply by clicking the "Use theme" button next to it.
- Save Changes: Once you’ve selected a new theme, make sure to click "Save changes" at the bottom of the page.
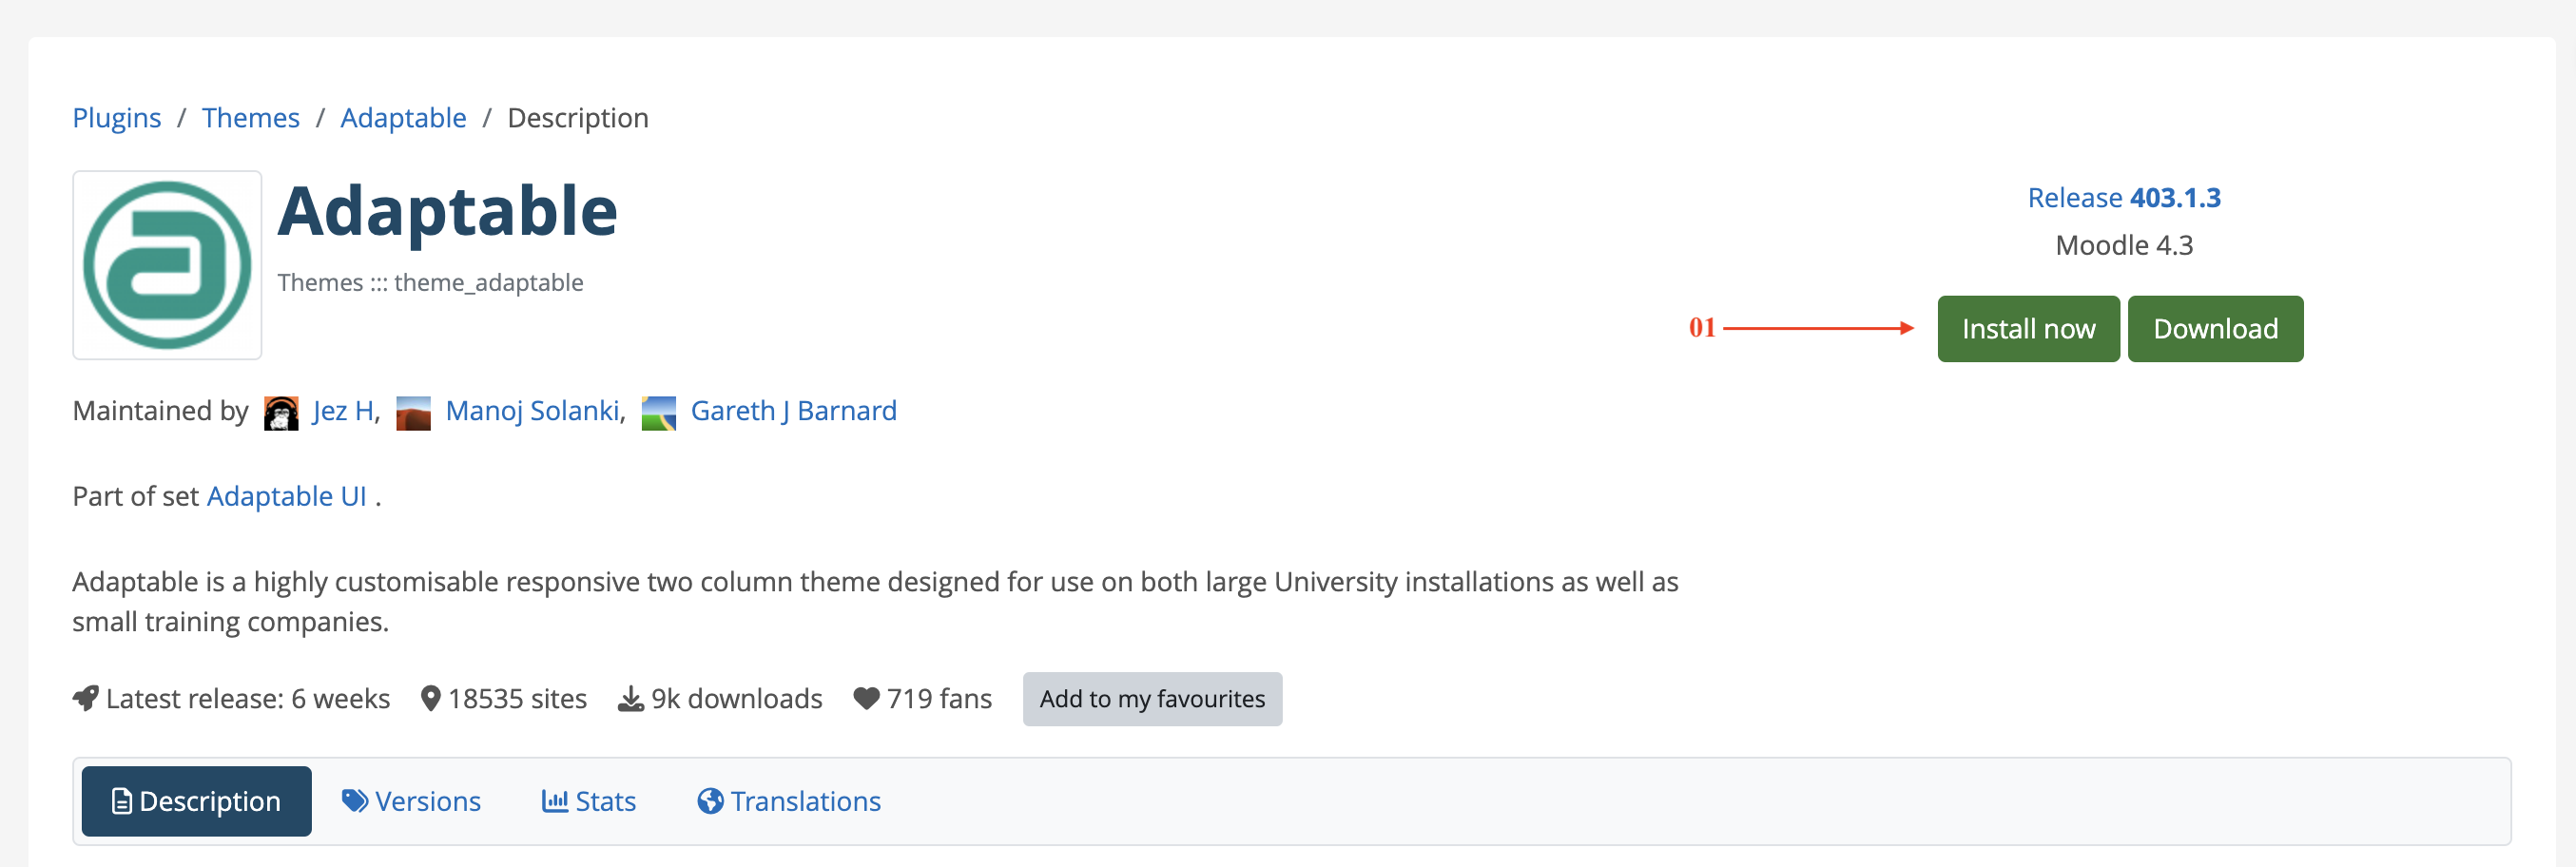
06 - Add Custom Themes
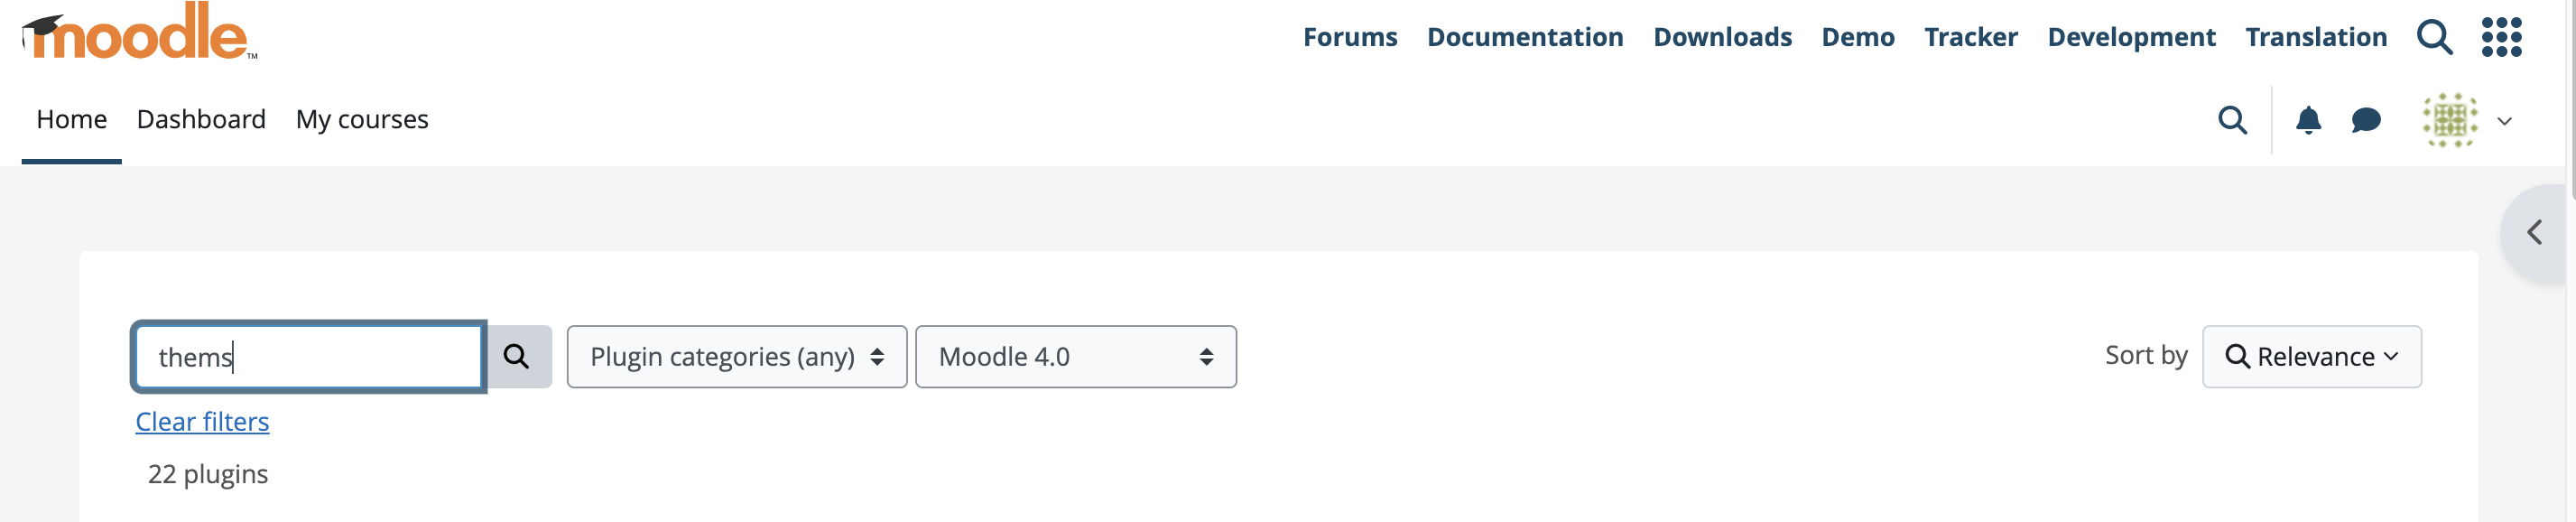
- Choose a Theme: Browse the official Moodle themes repository for free themes or search online for reputable Moodle theme vendors based on features, functionalities, and appearance.
- Download or Install the Theme: Once you've chosen your theme, download it as a zip file or use the provided installation method, such as clicking on an "Install" button.
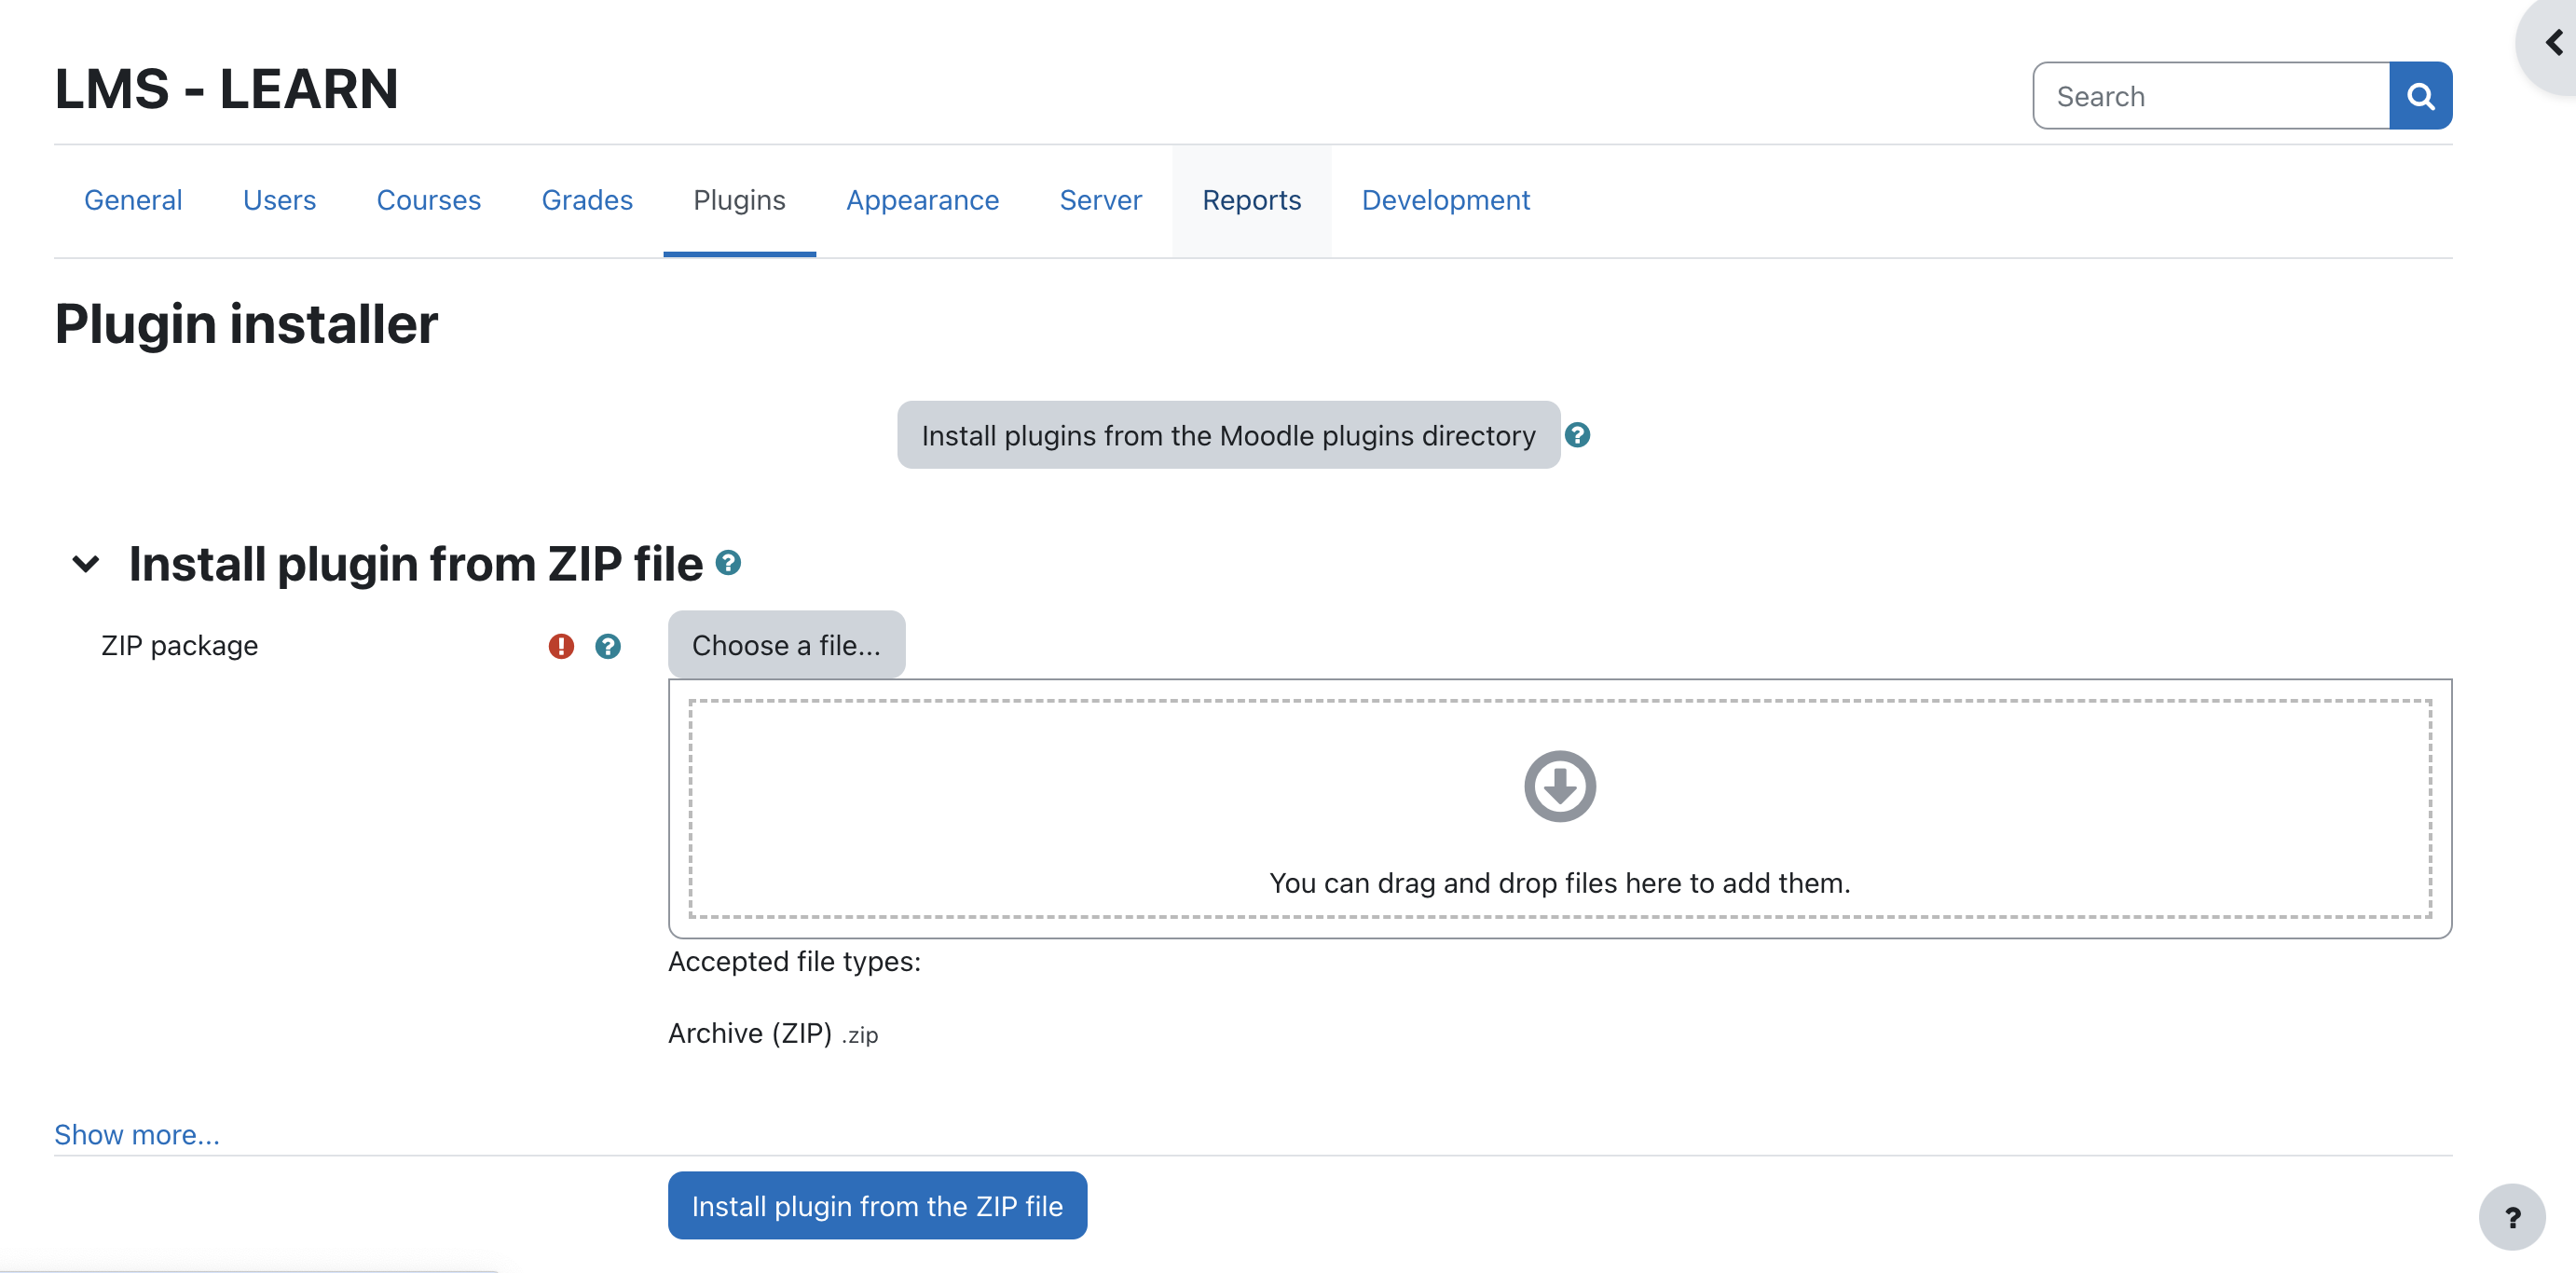
- Using Moodle Plugin Installer: If your Moodle site allows it, you can upload the theme zip file directly through the Moodle interface. Navigate to Site administration > Plugins > Install plugins, and then drag and drop the zip file or use the file picker to select it.
-
Set File Permissions (if using FTP): If you uploaded the theme via FTP, ensure the theme folder and its contents have the correct permissions for the web server to access them.
-
Typically, you'll want to set the permissions to 755 (read/write/execute for owner, read/execute for group, read/execute for everyone).
sudo chown -R www-data:www-data /var/www/html/moodle/theme -
Activate the Theme in Moodle: Log in as an administrator on your Moodle site. Navigate to Site administration > Appearance > Themes > Theme selector. You should see your uploaded theme listed. Click the "Use theme" button next to the theme to activate it.
- Clear Theme Cache (optional): In some Moodle versions, you may need to clear the theme cache for the changes to take effect. You'll usually find a "Clear theme caches" button on the Theme selector page.