Share External Videos (e.g., YouTube)
How to Share an External Video (e.g., YouTube, mp4) in vCR
Steps
-
Start the Room
-
Log in and click the Start button to enter your Room.
-
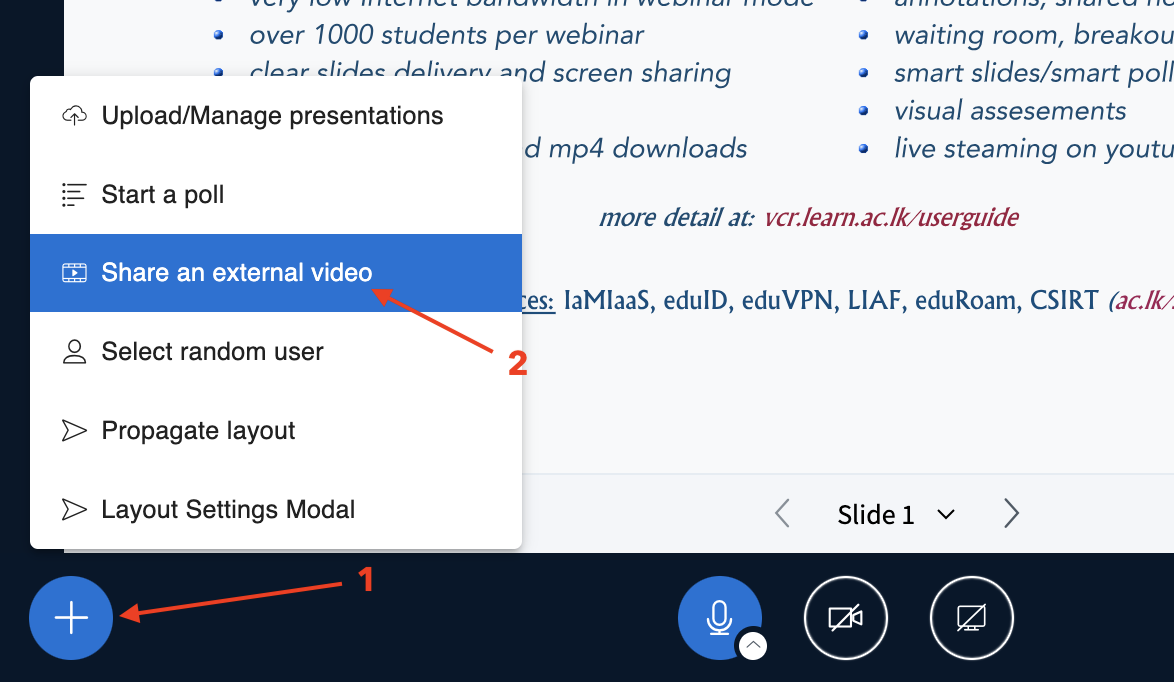
Click the Blue (+) Button [1]
-
Located at the bottom center of the Room interface.
-
Select “Share an External Video [2]”
-
A new dialog box will appear.
-
Paste the Video URL
-
Copy and paste a link to an external video (e.g., a YouTube URL or mp4 video link [3]) into the box.

-
Click “Share [4]”
-
The video will appear in the center of the screen and play for all participants.
-
Control Playback
-
Moderators control the video playback (play/pause/sound [5], and viewers watch in sync.

Supported Platforms
- YouTube
- Public MP4 video links (some other sources may work depending on compatibility)
How to Use the Whiteboard in vCR
Step-by-Step Instructions
1. Start the Room
- Log into the platform and click “Start” on your Room.
2. Upload a Presentation (If Not Already Done)
- Click the blue “+” button (bottom center).
- Choose “Upload Presentation”.
- Use a blank PDF or the default presentation (which includes whiteboard-friendly slides).
3. Use Built-In Whiteboard Slides
The default presentation includes [1]:
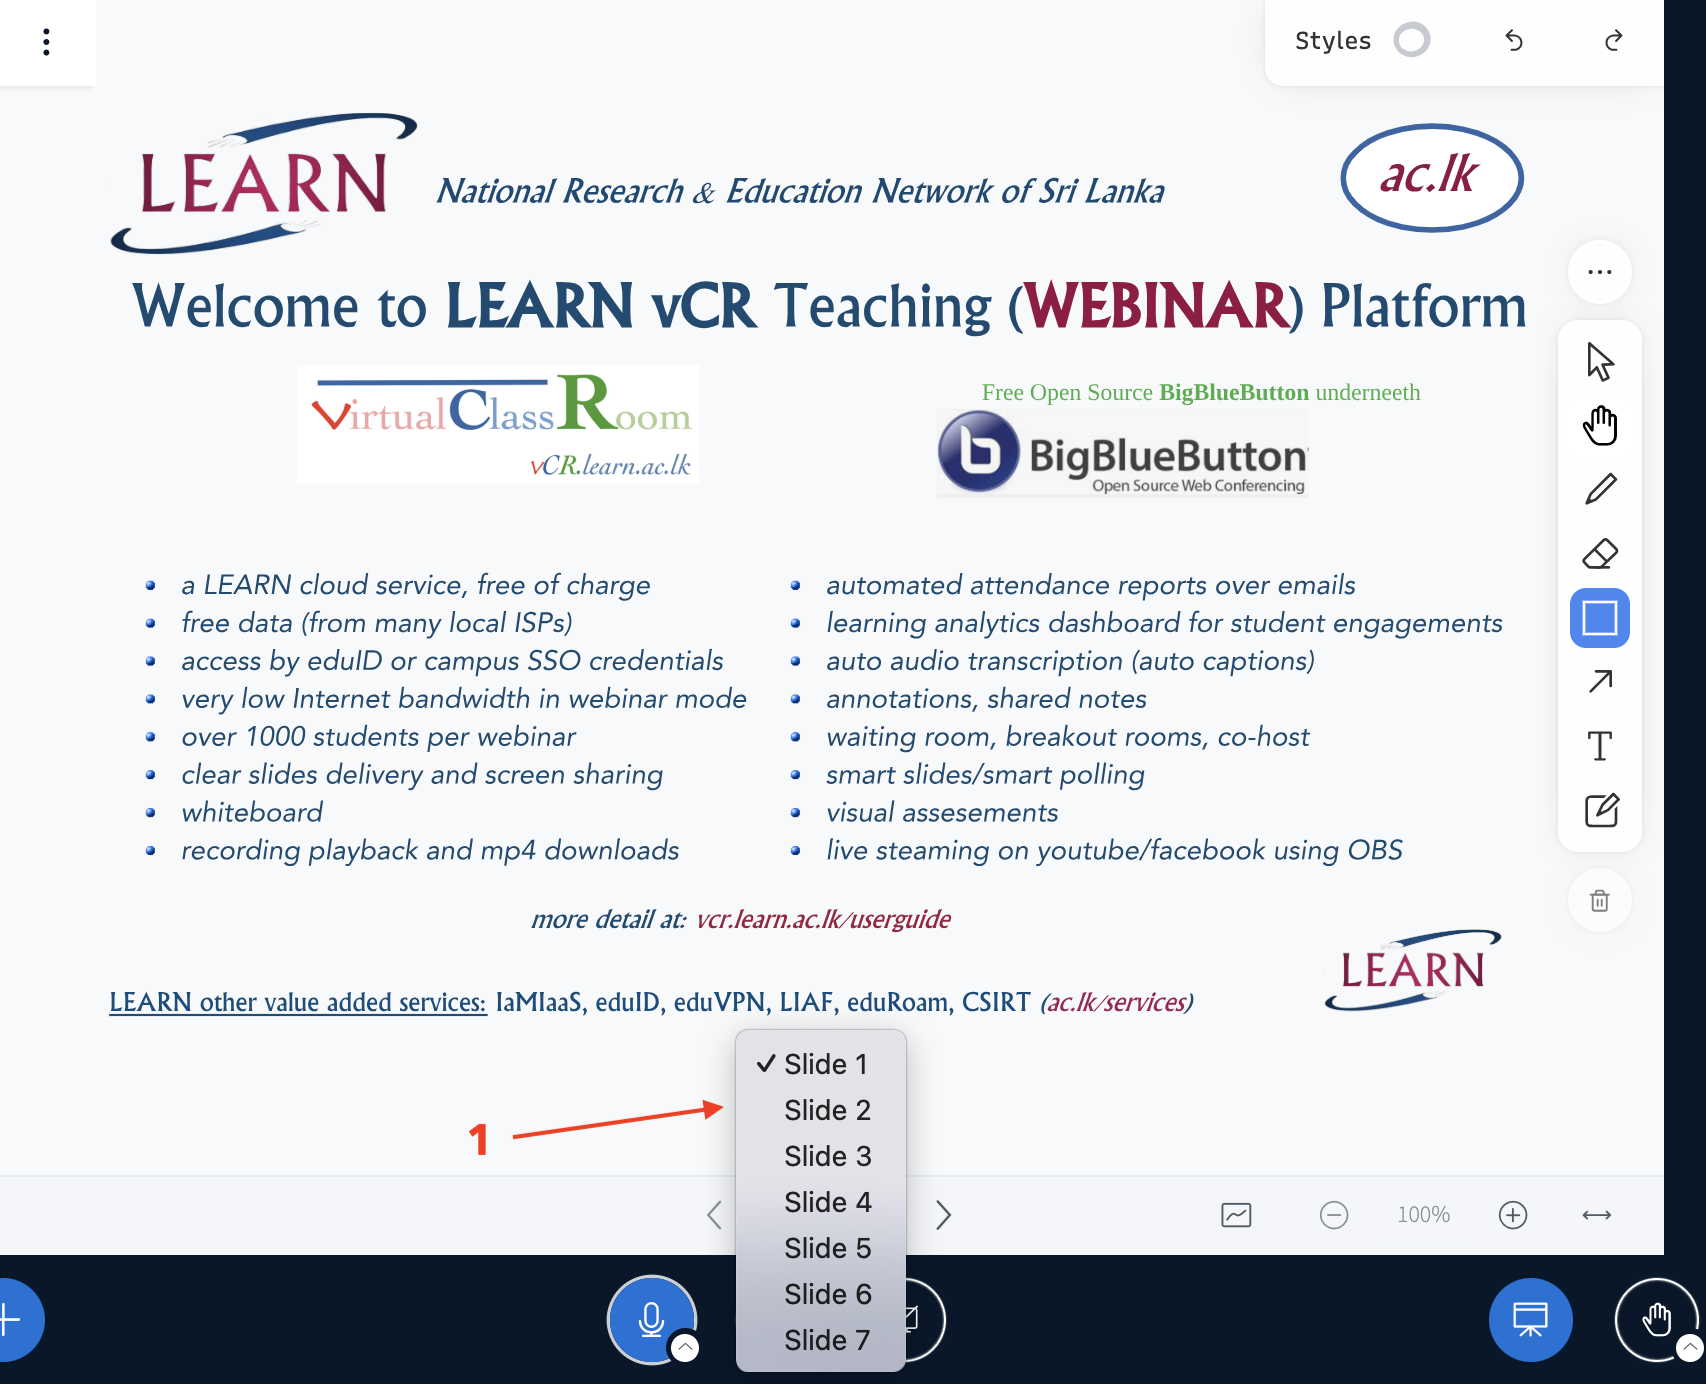
- Slides 2–3: Blank whiteboards
- Slides 4–6: Small square graph paper
- Slide 7: Lined paper
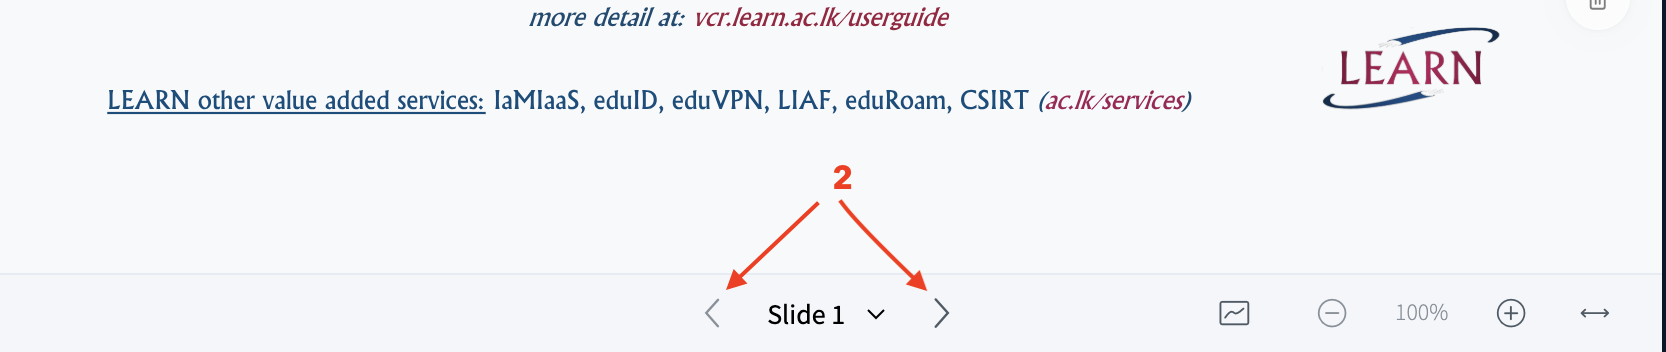
Use the slide navigator (left arrow/right arrow) [2] to switch between them.
4. Annotate on the Slide
-
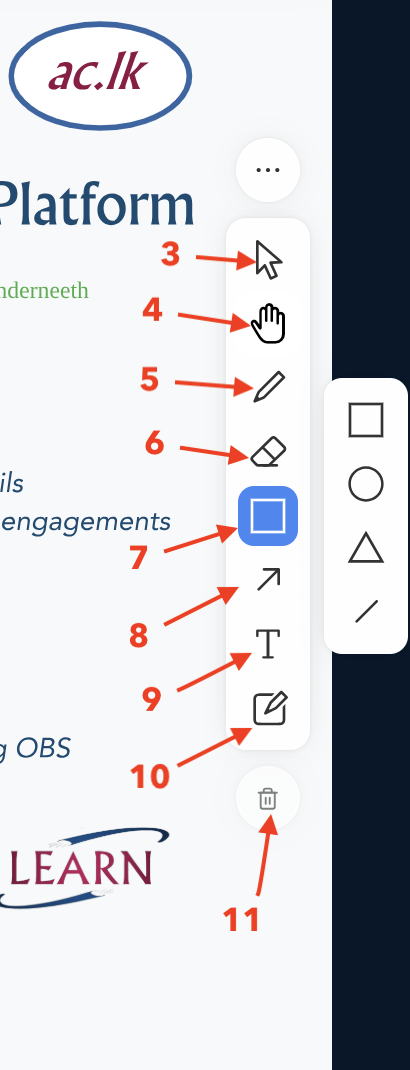
Use the annotation toolbar (bottom or right side of the presentation) to:
-
Select ⇨ [3] - Click to select or move existing annotations.
- Pan ✋ [4] - Move around the slide without affecting annotations.
- Draw (pen tool) pen 🖊 [5] - Freehand drawing on the slide using your mouse or stylus.
- Eraser [6 - Erase specific parts of your annotations.
- Use shapes □ (circle, square, line) [7] - Draw basic shapes like circles, squares, and straight lines.
- Arrow ➚ [8] -Insert an arrow to point out or highlight key areas.
- Write text [9] - Type short text or labels directly onto the slide.
- Sticky Note [10] - Add comments or reminders as sticky notes.
- Delete [11] - Remove all annotations from the slide.
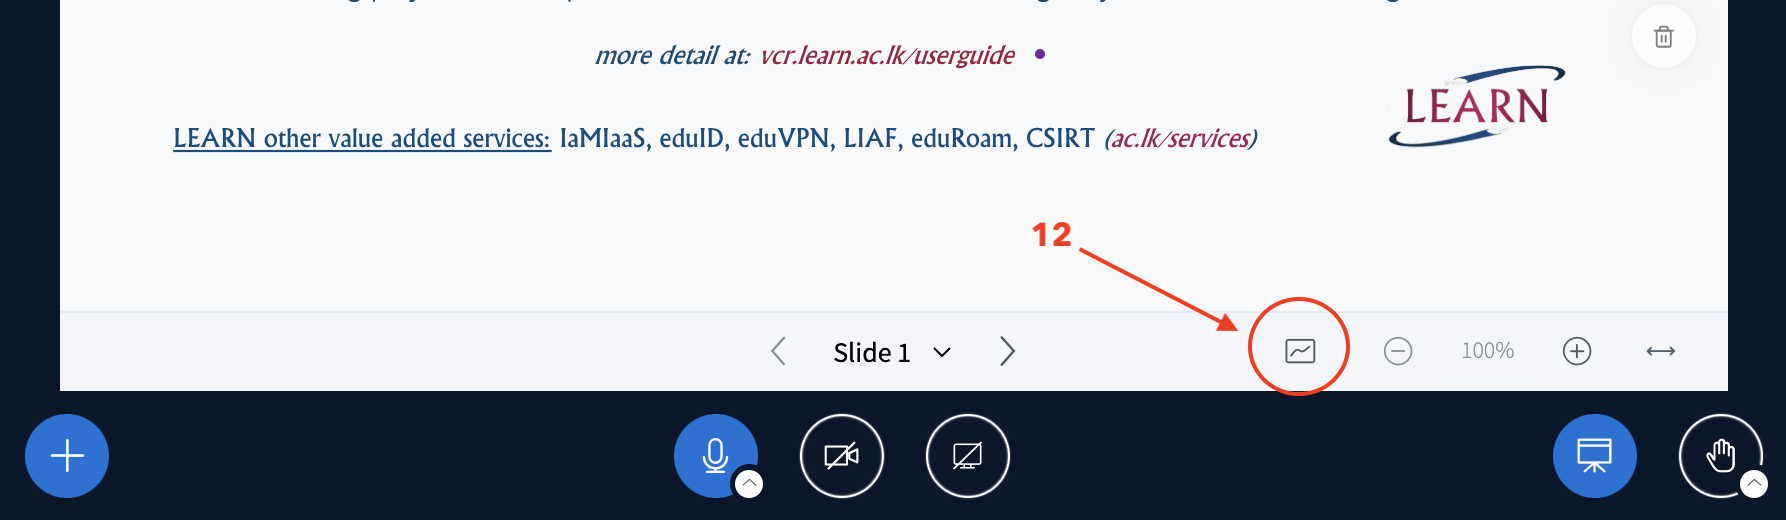
5. Enable Multi-User Whiteboard (for Student Interaction)
- Click the “multi-user whiteboard” icon [12] – This is found on the presentation control bar just below the slide.
- This allows all participants to draw or annotate on the slide in real-time.
6. Manage Whiteboard Activity
-
You can:
-
Turn multi-user mode on or off at any time.
- Use different slides for different student groups.
- Clear annotations between activities using the trash icon.